

How to Assemble a Baby Cot

Assembling a baby cot correctly is essential for your baby’s safety and comfort. While the exact assembly process varies depending on the manufacturer and model, most baby cots follow similar installation steps. Learning how to assemble a baby cot helps ensure it is stable, secure, and ready for your baby to use.
-
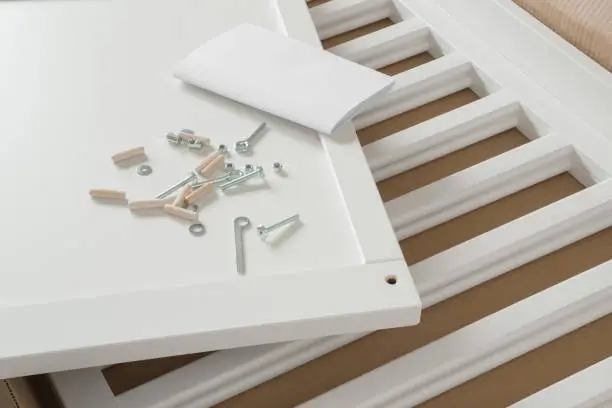
Unpack and Check All Parts
Begin by unpacking the cot and laying out all the components on a clean, flat surface.
Compare the parts with the instruction manual to ensure nothing is missing.
- Unpack all components
- Check the parts list
- Inspect for damage or defects
-
Gather the Required Tools
Some baby cots include the necessary tools, while others require basic household tools.
Have everything ready before you begin assembly.
- Read the instruction manual
- Gather the recommended tools
- Keep screws and fittings organized
-
Assemble the Main Frame
Attach the side panels, headboard, and footboard according to the manufacturer’s instructions.
Tighten the fittings securely, but avoid overtightening.
- Connect the main frame pieces
- Insert screws and bolts correctly
- Ensure the frame is stable
-
Install the Mattress Support
Fit the mattress base into the cot at the recommended height.
Make sure it is securely attached before continuing.
- Position the mattress support
- Secure all fasteners
- Check that it is level and stable
-
Perform a Safety Check
Before placing the mattress inside, inspect the cot to ensure it has been assembled correctly.
There should be no loose parts, sharp edges, or gaps that could pose a risk.
- Tighten all screws and bolts
- Check for stability
- Ensure all locking mechanisms are engaged
-
Insert the Mattress and Test the Cot
Place a correctly sized cot mattress into the frame.
Test the cot by gently applying pressure to confirm it is sturdy and does not wobble.
- Fit the mattress securely
- Confirm there are no large gaps around the mattress
- Recheck the cot before use
Also Read: How to Adopt a Baby