

How to Build Roof Trusses

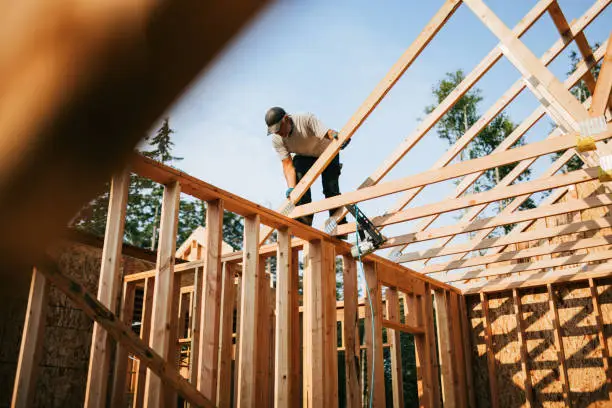
Roof trusses are structural frameworks that support the roof and distribute its weight evenly across the walls of a building. They are commonly used in residential, commercial, and agricultural construction because they are strong, efficient, and economical. Building roof trusses requires careful planning, accurate measurements, and quality materials to ensure the roof is safe and durable. Learning how to build roof trusses can help you understand the basic construction process, although trusses for permanent buildings should always be designed or approved by qualified professionals.
-
Prepare the Roof Truss Design
Begin by determining the roof dimensions, pitch, span, and load requirements.
A properly designed truss ensures the roof can safely support its own weight, roofing materials, wind, and other loads.
- Determine the roof measurements
- Select the appropriate truss design
- Follow approved building plans and engineering specifications
-
Gather Materials and Tools
Use high-quality timber or other approved construction materials that are straight, dry, and free from defects.
Prepare the necessary tools before beginning construction.
- Select quality structural timber
- Gather measuring and cutting tools
- Prepare metal connector plates or approved fasteners
-
Measure and Cut the Timber
Carefully measure each truss component according to the design.
Cut the top chords, bottom chord, and internal web members accurately so they fit together correctly.
- Measure every piece carefully
- Make accurate angle cuts
- Label the components if necessary
-
Assemble the Roof Truss
Lay the timber pieces on a flat surface following the truss design.
Join the members using approved metal connector plates, fasteners, or other structural connectors specified in the design.
- Position all members correctly
- Secure the joints firmly
- Check that the truss remains square and level
-
Inspect and Install the Trusses
Before installation, inspect each truss for alignment, strength, and any visible defects.
Lift the completed trusses into position, space them according to the building plans, and secure them with temporary and permanent bracing until the roof structure is complete.
- Inspect each completed truss
- Install the trusses according to the building plans
- Secure all bracing before adding roofing materials
Also Read: How to Build a House Foundation