

How to Change Ink in an HP Printer

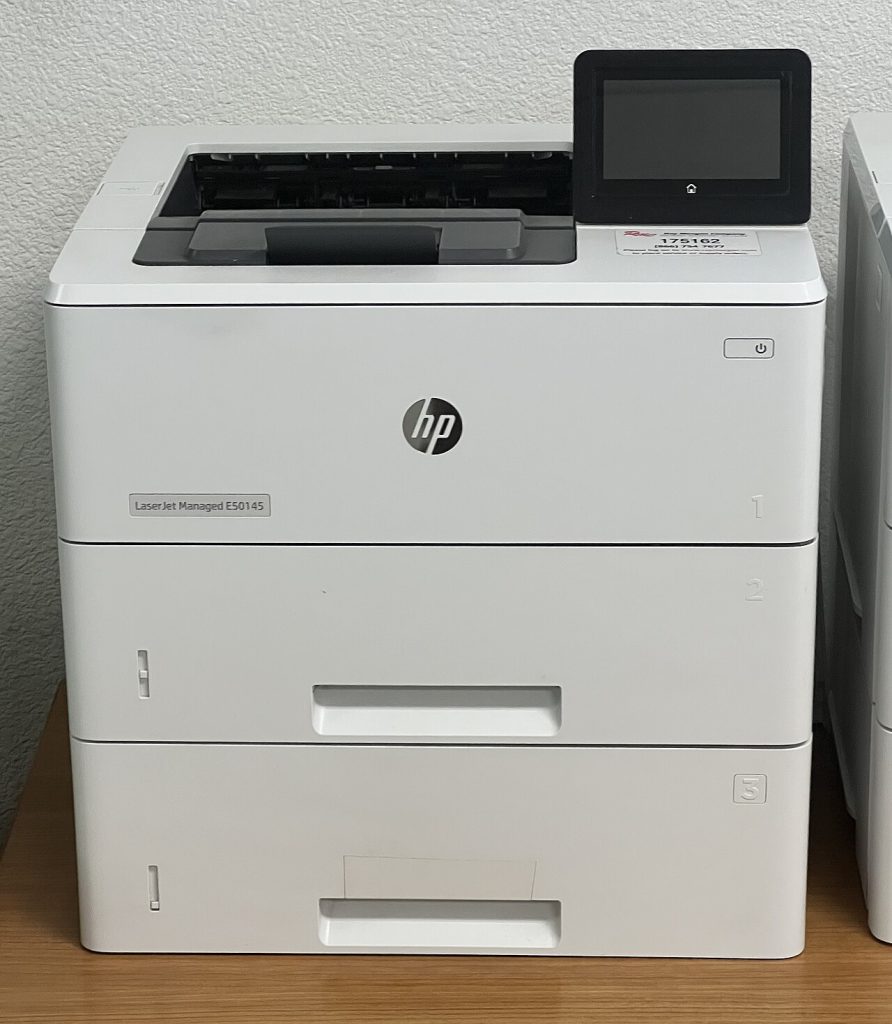
Knowing how to change ink in an HP printer helps you maintain high-quality printing and prevent interruptions when your ink runs low. HP printers are designed to make ink cartridge replacement quick and straightforward, but following the correct procedure helps avoid damage to the printer or cartridges. Whether you are replacing black or colour ink, changing the cartridge correctly ensures your printer continues to produce clear and reliable prints.
-
Turn On the Printer and Open the Ink Access Door
Begin by switching on your HP printer and waiting until it is fully powered on.
Open the ink cartridge access door and allow the cartridge carriage to move to the centre of the printer. Wait until it stops moving before touching it.
- Turn on the printer
- Open the ink access door
- Wait for the cartridge carriage to stop
-
Remove the Empty Ink Cartridge
Locate the ink cartridge you want to replace and gently press it down to release it from its slot.
Carefully pull the cartridge out without using excessive force.
- Press the cartridge gently
- Remove the empty cartridge
- Dispose of it properly if necessary
-
Prepare the New Ink Cartridge
Remove the new HP ink cartridge from its packaging.
Take off the protective tape or plastic cover without touching the copper contacts or ink nozzles, as this could affect print quality.
- Unpack the new cartridge
- Remove the protective tape
- Avoid touching the contacts
-
Install the New Ink Cartridge
Insert the new cartridge into the correct slot and push it forward until it clicks securely into place.
Ensure you place each cartridge in the correct colour-coded slot.
- Insert the new cartridge
- Push until it clicks
- Check that it is firmly installed
-
Close the Printer and Test It
Close the ink access door and allow the printer to recognise the new cartridge.
If prompted, print an alignment page or a test page to ensure the cartridge is installed correctly and the printer is producing clear prints.
- Close the printer cover
- Wait for the printer to initialise
- Print a test or alignment page
Also Read: How to Change Gears