How to Change TP-Link Router Password

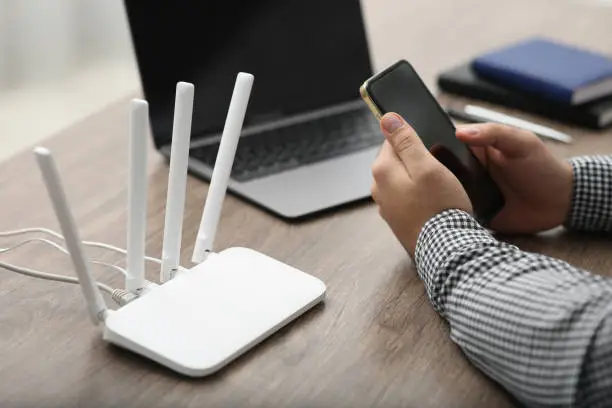
Knowing how to change your TP-Link router password is important for protecting your WiFi network and preventing unauthorised people from using your internet connection. Changing the password can also be useful if you have shared your old password with too many people or simply want to improve your network security. You can usually change the WiFi password using a phone, tablet, or computer connected to the TP-Link router.
-
Connect to Your TP-Link Router
Start by connecting your phone, tablet, or computer to the TP-Link router.
You can connect through WiFi using the existing password or use an Ethernet cable if you are working from a computer.
- Turn on the TP-Link router
- Connect your device to the network
- Confirm that the connection is working
-
Open the TP-Link Login Page
Open a web browser on your connected device.
Enter the router’s management address in the browser’s address bar. Depending on your TP-Link model, this may be tplinkwifi.net, 192.168.0.1, or 192.168.1.1.
Enter your router administrator login details when prompted.
- Open your web browser
- Enter the router address
- Log in to the router
-
Open the Wireless Settings
After logging in, look for Wireless, WiFi, or Wireless Settings in the router’s menu.
The exact wording can differ depending on your TP-Link router model and firmware version.
- Open Wireless Settings
- Select the WiFi network
- Locate the password field
-
Enter a New WiFi Password
Find the field containing your current WiFi password and replace it with your new password.
Choose a strong password that is difficult for other people to guess. A combination of letters, numbers, and symbols can provide better security.
- Enter your new password
- Use a strong combination
- Check the password carefully
-
Save the New Password
Click Save, Apply, or the corresponding option to confirm the change.
The router may restart its wireless connection. Your phone, computer, and other connected devices may disconnect because the old WiFi password is no longer valid.
Reconnect your devices using the new password.
- Save the changes
- Wait for the router to apply them
- Reconnect your devices
Also Read: How to Change Text Direction in Word