

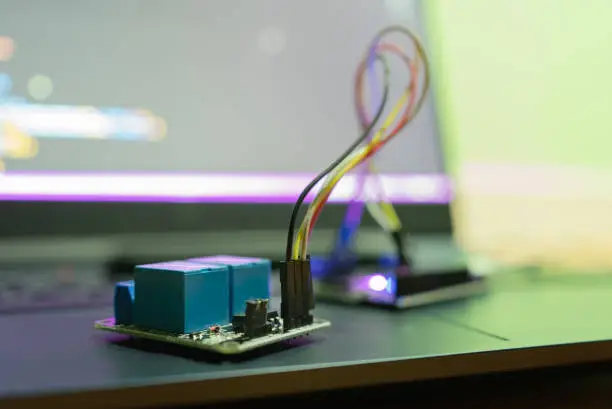
How to connect a 4-pin relay

A 4-pin relay is a simple electrical component used to control a circuit using a small current to switch a larger one. It is commonly used in automotive wiring, lighting systems, and electronic projects. Understanding how to connect it properly ensures safe and efficient operation.
- Understand the 4 Pins
- Before connecting the relay, it is important to know what each pin does. Most 4-pin relays are labeled with numbers — 85, 86, 30, and 87.
- Pin 85: This is the ground terminal of the relay coil.
- Pin 86: This is the positive terminal of the relay coil.
- Pin 30: This is the common terminal that connects to the power source or the device being powered.
- Pin 87: This is the output terminal that connects to the accessory or load (for example, a light, fan, or motor).
When current flows through the coil between pins 85 and 86, it creates a magnetic field that closes the internal switch, allowing current to flow from pin 30 to pin 87.
- Gather the Required Tools and Materials
You will need a few basic items to connect the relay safely. These include:
- A 4-pin relay
- Connecting wires
- A fuse (for protection)
- Electrical tape or connectors
- A multimeter (optional, for testing)
- A 12V battery or power source (if testing the relay)
- Identify the Power Source and Load
Decide what device you want to control with the relay. The power source could be a car battery or any 12V supply, while the load could be a light bulb, horn, or motor. Always make sure the relay’s voltage rating matches your power source.
- Connect the Relay Coil (Pins 85 and 86)
The relay coil creates the magnetic force that switches the circuit. Connect pin 85 to a ground point, such as the negative terminal of the battery or chassis ground. Then connect pin 86 to the switch or control signal that will activate the relay.
For example, if you are using a switch to turn on a light, one side of the switch connects to the positive battery terminal, and the other side connects to pin 86.
- Connect the Power Input (Pin 30)
Pin 30 is where the main power enters the relay. Connect this pin directly to the positive terminal of your battery or power supply through a fuse to protect the circuit. The fuse should be rated slightly higher than the current your load draws.
- Connect the Output (Pin 87)
Pin 87 sends power to the load when the relay is activated. Connect pin 87 to the positive terminal of the device you want to control. The negative terminal of that device should be grounded to complete the circuit.
Once everything is connected, when the switch sends power to pin 86, the relay coil is energized, closing the circuit between pin 30 and pin 87. The load will then receive power and operate.
- Test the Connection
After wiring, test the relay to ensure it functions correctly. Turn on your switch or control signal — you should hear a small “click” from the relay. This sound means the internal contacts are closing. Check if your load device turns on. If not, recheck all connections and fuses.
- Secure the Wiring
Once testing is successful, secure all connections using electrical tape, heat shrink, or proper connectors. Make sure no wires are loose or exposed to prevent short circuits. If the relay is being used in a vehicle, mount it in a dry, safe location away from heat or vibration.
Also Read: How To Clean A Throttle Body Without Removing It