

How To Connect A Water Tank To A House

Installing a water tank and connecting it to your house is an excellent way to ensure a consistent water supply, reduce utility bills, and prepare for times when municipal water might be unavailable. Whether you are collecting rainwater or storing pumped water, connecting your tank properly ensures smooth and safe water distribution throughout your home.
- Understanding the Water Tank Connection
A water tank system works by storing water and distributing it to your household plumbing either through gravity feed or a pressure pump. Gravity-fed systems rely on height to provide pressure, while pump systems use an electric pump to push water into your pipes. Choosing the right setup depends on your tank’s location and the pressure required for your home.
Before installation, ensure that your tank is positioned close enough to your home to connect easily but on stable, level ground to support its weight when full.
- What You’ll Need
To connect a water tank to your house, you’ll require:
- A water tank (plastic or metal)
- PVC pipes or flexible water hoses
- A non-return valve (to prevent backflow)
- A pressure pump (for low-lying tanks)
- A tank outlet fitting and tap or valve
- Pipe connectors, T-joints, and clamps
- Plumber’s tape and sealant
Having these components ready will make the installation process smoother and help prevent leaks later on.
- Steps to Connect a Water Tank to Your House
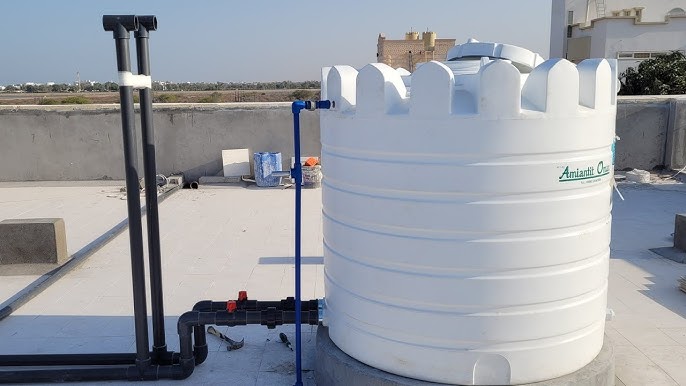
- Position the Water Tank
Place the tank on a strong, level base near the house. If possible, elevate it slightly using a concrete stand or bricks to improve gravity flow. - Install the Outlet Fitting
At the bottom of the tank, connect a tank outlet fitting. Attach a valve or tap to control water flow from the tank. Ensure all connections are tightly sealed using plumber’s tape. - Attach the Pipe to the Tank Outlet
Connect a PVC pipe or flexible hose to the tank’s outlet fitting. Use clamps to secure the connection and prevent leaks. - Connect the Pipe to the Pump (if using one)
If your tank is not elevated, install a pressure pump between the tank and the house. Connect the pipe from the tank outlet to the pump’s inlet and another pipe from the pump’s outlet to your house’s main water line. - Install a Non-Return Valve
Place a non-return valve between the pump and the house water line. This prevents water from flowing back into the tank when the pump is off. - Connect to the Main Water Supply Line
Locate the main water line that supplies your home. Cut the pipe and attach the line from the tank system using a T-joint connector. This allows your house to receive water from either the municipal source or your tank. - Test for Leaks and Water Flow
Turn on the water supply or pump and check for leaks at all joints. Open indoor taps to confirm that water is flowing smoothly from the tank.
- Setting Up a Dual Supply System (Optional)
If you want your home to use both municipal and tank water, install a manual switch valve or three-way valve. This lets you choose which source supplies your house—ideal during rainy seasons or water outages.
- Safety and Maintenance Tips
- Clean the tank regularly to prevent algae and sediment buildup.
- Check all fittings periodically for leaks or rust.
- Use food-grade pipes and fittings if the water is for drinking.
- Install a filter between the tank and house to remove debris.
- Protect the pump with a cover to keep it safe from weather damage.
- Benefits of Connecting a Water Tank to Your House
Once installed, your water tank system provides multiple advantages, including lower water bills, reduced strain on municipal supply, and access to stored rainwater for gardening, cleaning, and even domestic use. It also ensures you have a backup water source during shortages or maintenance interruptions.
Also Read: How To Clean Pewter