

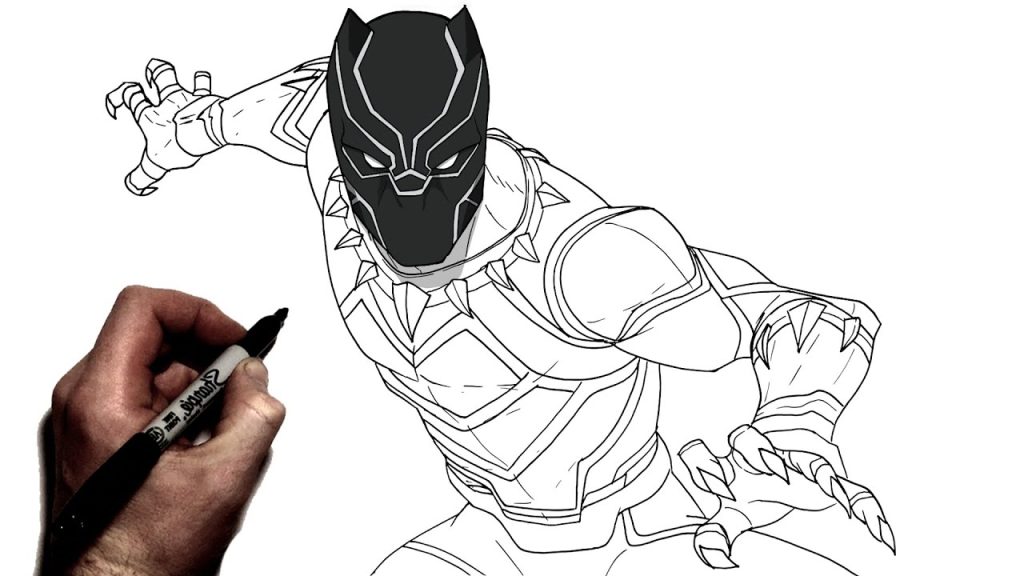
How To Draw A Black Panther

Drawing a black panther is a great way to practice drawing animals with strong muscles, smooth curves and powerful poses. The black panther is known for its sleek body, sharp features and graceful movement. Although it may look difficult at first, drawing a black panther becomes much easier when you break the body into simple shapes and focus on the overall flow rather than small details. By building the drawing step by step, you can create a realistic and impressive panther. This guide explains how to draw a black panther in an easy and clear way.
- Start with Basic Body Shapes
Begin by sketching the main structure of the panther.
- Draw a large oval for the body.
- Add a smaller circle at the front for the head.
- Draw a long curved line extending from the body for the spine.
- Keep all lines light and loose.
These basic shapes help you plan the panther’s size and posture.
- Connect the Head and Body
Next, form the neck and overall flow.
- Draw two short curved lines connecting the head to the body.
- Keep the neck thick and strong.
- Angle the head slightly forward for a natural pose.
- Make sure the head is proportionate to the body.
A smooth connection makes the panther look powerful and balanced.
- Draw the Legs and Paws
Black panthers have muscular legs and large paws.
- Draw four legs using long, slightly curved lines.
- Make the front legs straight and strong.
- Bend the back legs to show flexibility and movement.
- Add oval shapes at the bottom for the paws.
Keep the legs thick enough to support the body.
- Add the Tail
The tail helps show balance and motion.
- Draw a long curved tail extending from the back of the body.
- Make the base thick and taper it toward the tip.
- Curve the tail gently to one side.
- Keep the lines smooth and flowing.
A curved tail adds elegance and life to the drawing.
- Shape the Head and Face
Now focus on the panther’s facial features.
- Refine the head into a rounded shape with a slightly pointed muzzle.
- Draw two small rounded ears on top of the head.
- Add almond-shaped eyes angled slightly inward.
- Draw a small nose and a short line for the mouth.
Keep the expression calm and alert.
- Refine the Body and Muscles
This step gives the panther its strength.
- Smooth out the body outline using curved lines.
- Add gentle muscle curves along the shoulders and thighs.
- Define the chest and belly lightly.
- Avoid sharp edges.
Subtle muscle lines make the panther look strong without over-detailing.
- Add Fur Details and Claws
Black panthers have short, smooth fur.
- Draw short light strokes along the outline for fur texture.
- Add small claws at the front of each paw.
- Keep fur details minimal and neat.
- Focus more on shape than texture.
Less detail keeps the panther looking sleek.
- Add Shading for Depth
Shading is important when drawing a black animal.
- Shade the body evenly, keeping it dark but not flat.
- Add darker shading under the belly, legs and head.
- Leave small highlights on the back and face.
- Blend shading smoothly.
Highlights help the black panther stand out and look three-dimensional.
- Finalize with Clean Lines
Finish your drawing by refining everything.
- Darken the final outlines carefully.
- Erase all unnecessary sketch lines.
- Check proportions and posture.
- Adjust shading for a smooth finish.
Also Read: How To Draw A Tie