

How to Draw a Girl — Step by Step

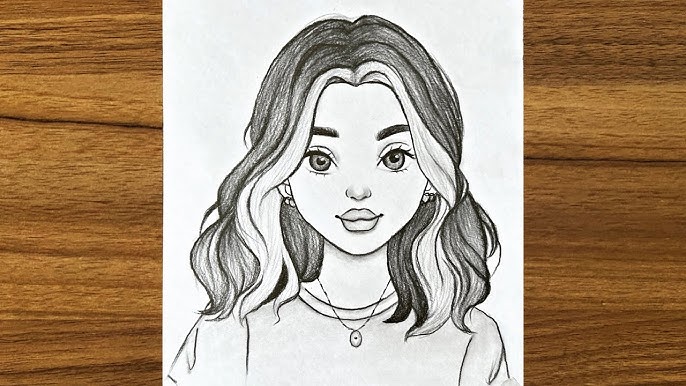
Drawing a simple girl step by step is a great way to practise proportions, shapes and facial features without getting overwhelmed. This guide breaks the process into clear stages so anyone can follow along, even beginners and children. You will learn how to build the figure from basic shapes, place the face correctly, draw simple hair and clothes, and finish with light shading or colour. The goal is a friendly, easy drawing that looks balanced and charming, created with a pencil and a little patience.
- Gather Your Materials and Choose a Pose
Start with a pencil, an eraser, and a sheet of paper. A kneaded eraser helps with soft corrections. Decide whether the girl will stand facing forward, slightly turned, or in a simple action pose. For your first attempts, choose a straightforward standing pose facing forward. This keeps proportions simple and makes it easy to place limbs and facial features.
- Draw the Basic Guideline Shapes
Lightly sketch an oval for the head near the top third of the page. Below the head, draw a vertical guideline down the centre to help keep the body symmetrical. Add a slightly elongated oval or rounded rectangle for the torso, positioned about one and a half head lengths below the jaw. Use two small circles for the shoulders and two for the hips. These basic shapes act like a skeleton that keeps everything in the right place.
- Place the Facial Guidelines
Divide the head oval with a horizontal line halfway down to mark the eye level. Draw another softer horizontal line a little below the middle for the nose, and a small curve or mark below that for the mouth. Eyes sit on the first line and are spaced about one eye-width apart. The nose is simple, often just a small curved line, and the mouth can be a short gentle curve. These soft guidelines help the face look balanced.
- Sketch the Neck, Arms and Legs
Connect the head to the torso with two short, slightly curved lines for the neck. From the shoulder circles, sketch the arms using long, narrow ovals for the upper arms and forearms. Mark simple circles for the elbows and small ovals for the hands. For the legs, extend two long ovals from the hips for thighs and two narrower ovals for the lower legs. Add small rounded shapes for the knees and simple feet. Keep lines light so you can refine proportions as you go.
- Shape the Hair and Ears
Decide on a hairstyle and draw it around the head. For simple styles, sketch smooth curves that flow from the top of the head to the shoulders. Avoid drawing hair strand by strand. Instead, show volume with an outer shape and a few inner lines to suggest layers. Place the ears between the eye and nose lines on each side of the head. Ears can be small curved shapes that follow the head’s contour.
- Add Clothing and Small Details
Draw a simple dress, t-shirt and skirt, or shirt and trousers over the torso shape. Use smooth lines to show fabric folds near the waist and under the arms. Add small features such as a collar, pockets, buttons, or a belt. For hands, keep fingers simplified as small ovals or a gentle mitten shape. Add shoes as simple rounded forms that match the pose.
- Refine Lines, Erase Guides and Add Texture
Go over the sketch with slightly firmer pencil strokes to define the final lines. Erase the construction guidelines and any overlapping shapes that are no longer needed. Add small textures like eyelashes, simple folds in clothing, or a line for the chin. Keep details minimal at first so the drawing remains clean and easy to recognise.
- Shade or Colour and Finish
Finish with light shading on one side of the face, under the chin, and along the clothes to suggest form. If you prefer colour, use coloured pencils or markers to keep the look soft and friendly. A touch of blush on the cheeks, a highlight in the eyes, and a few tones in the hair make the drawing lively. Stand back and check balance, then make small corrections as needed.
Also Read: How To Delete Read-Only Contacts