

How To Draw A Hexagon In Isometric

Drawing a hexagon in isometric view is a useful technique in technical drawing, engineering, and 3D design. Isometric drawings give a three-dimensional appearance using 30-degree angles, and creating a hexagon within this style helps you visualize shapes like bolts, nuts, or architectural designs. Here’s a simple guide to help you draw a clean and accurate isometric hexagon. Here how to draw a hexagon in isometric.
Understanding Isometric Drawing
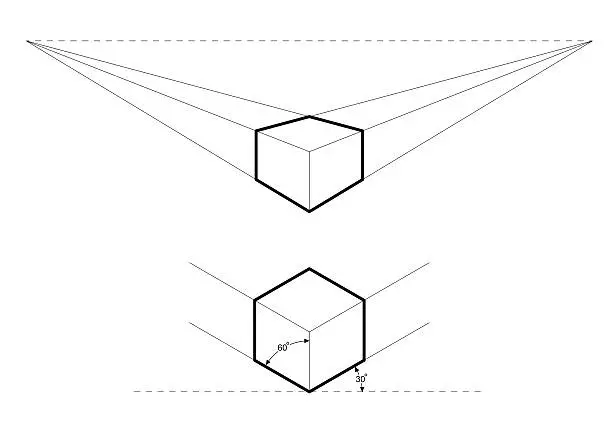
In isometric drawing, the object is tilted so that three sides are visible at once. All vertical lines remain vertical, while horizontal lines are drawn at 30 degrees to give a 3D effect. A regular hexagon in isometric projection appears slightly distorted because of this angled perspective, but it still maintains equal-length sides in 3D space.
Step 1: Draw an Isometric Grid or Guidelines
Start by lightly sketching an isometric grid or guide lines. Use a ruler and draw light lines at 30 degrees from the horizontal on both left and right sides. These will help maintain symmetry and angle accuracy throughout the drawing.
Step 2: Draw the Isometric Circle
To construct a perfect isometric hexagon, it’s helpful to begin with an isometric circle. Start by drawing an ellipse using the isometric method—this represents a circle viewed at an angle. Use a vertical centerline and two 30-degree slanted lines to create a diamond shape, then fit the ellipse inside that shape.
This step isn’t mandatory but is helpful if you’re aiming for precision, especially in technical drawings.
Step 3: Mark Six Equidistant Points on the Ellipse
Inside the ellipse or using a compass and divider, mark six evenly spaced points along the curve. These points will serve as the vertices of your hexagon. Make sure they are symmetrical from the center and fall along the edge of the ellipse.
Step 4: Connect the Points
Using a ruler, connect the six points with straight lines to form the hexagon. You should end up with a slightly distorted, 3D-looking hexagon that aligns with the isometric grid. The result will not look like a perfect flat hexagon, but it will be visually accurate within the isometric style.
Step 5: Finalize and Outline
Go over your hexagon with a darker pencil or pen to make it stand out. Erase any construction lines or the ellipse if you used one. You can also add depth by projecting vertical or angled lines from each side to turn the hexagon into a hexagonal prism.
Also Read: How To Draw A Bat