

How To Draw A Pizza

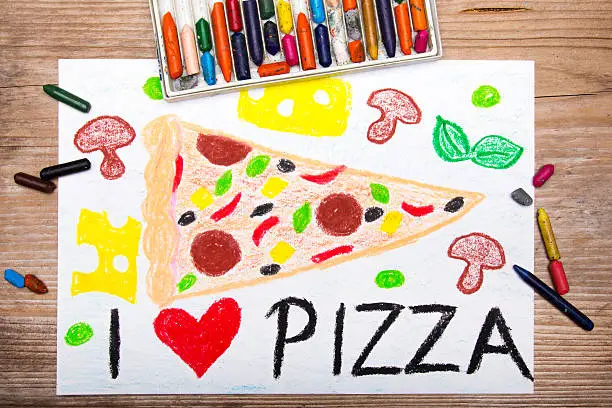
Drawing a pizza is a fun and simple activity for kids, beginners, or anyone who loves food art. Whether you’re drawing a whole pizza or a single slice, it’s easy to create a delicious-looking sketch using basic shapes and colorful toppings. Here’s how to draw a pizza step by step.
Step 1: Draw the Pizza Base
Start by drawing a big circle. This will be the full pizza. If you want to draw just a slice, draw a wide triangle instead, like a piece of pie. Make sure the edges are smooth and even.
Step 2: Add the Crust
Inside the circle, draw another smaller circle close to the outer edge to create the crust. If you’re drawing a slice, draw a curved line along the wide end of the triangle to show the crust. You can make the crust thick or thin depending on your style.
Step 3: Draw the Cheese and Sauce Edge
Right inside the crust line, you can draw a wavy or uneven line to show where the melted cheese and sauce stop. This helps give your pizza a more realistic and tasty look.
Step 4: Add Toppings
Now it’s time for the fun part—toppings! You can draw:
- Pepperoni: small circles
- Mushrooms: half circles with lines for the stems
- Green peppers: curved strips
- Olives: tiny black circles with smaller circles inside
- Pineapple: small yellow triangles or chunks
Feel free to mix toppings or make a pizza with your favorites.
Step 5: Add Texture and Details
To make the pizza look more real, draw small lines on the cheese to show melted texture. You can also add tiny bubbles or shading along the crust to make it look baked and crispy.
Step 6: Outline and Erase
Use a black pen or marker to trace over your pencil lines. Erase any extra marks or guide lines. This will make your drawing clean and neat.
Step 7: Color Your Pizza
Now bring your pizza to life with color. Use:
- Yellow or orange for melted cheese
- Red for tomato sauce or pepperoni
- Brown or golden for the crust
- Green, black, and other bright colors for vegetables and toppings
Also Read: How To Draw A Doctor