

How To Draw A Protea

Drawing a protea is a wonderful way to explore bold shapes, layered petals and natural texture. The protea is known for its striking appearance, with a large rounded head, spiky outer petals and a textured center. While it may look complex at first, it becomes much easier to draw when you break it down into simple shapes and build the details gradually. This makes it suitable for beginners, school projects and anyone who wants to draw a beautiful, unique flower. This guide explains how to draw a protea step by step using clear shapes, smooth lines and simple detailing.
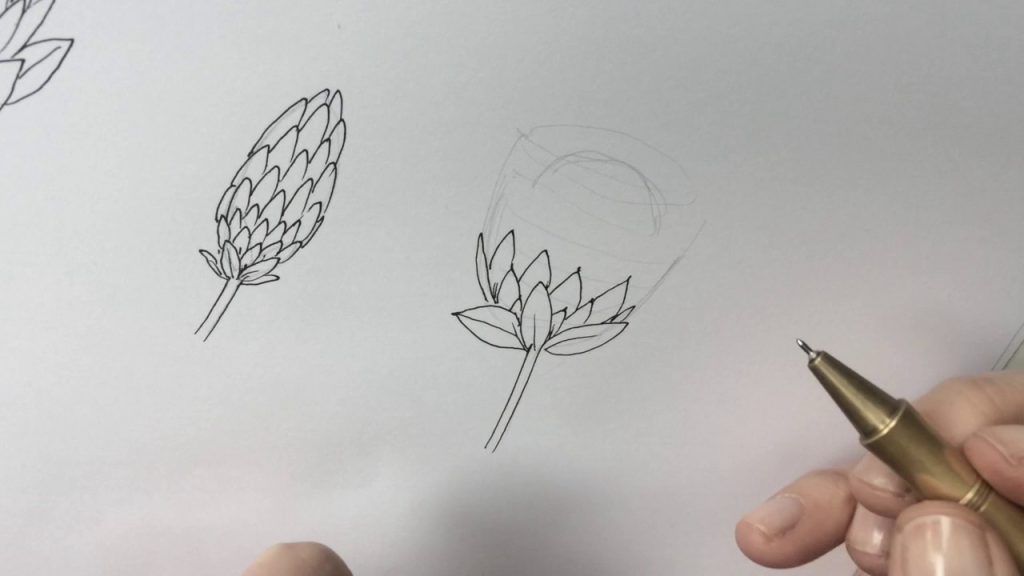
- Start with the Basic Flower Shape
Begin by creating the overall form of the protea.
- Draw a large oval or rounded bowl shape in the center of your page.
- Keep the bottom slightly flatter than the top.
- Use light pencil strokes so you can make changes easily.
- Make the shape fairly large, as proteas are bold flowers.
This basic shape acts as the foundation for the entire flower head.
- Add the Flower Base
The base helps define where the petals emerge.
- Draw a curved line across the lower part of the oval.
- This line separates the flower head from the stem.
- Keep it smooth and gently curved.
- Make sure it follows the shape of the oval.
This section helps anchor the petals and gives structure to the flower.
- Draw the Outer Petals
The outer petals of a protea are long and pointed.
- Draw elongated petal shapes around the top edge of the oval.
- Make the petals narrow at the base and wider toward the tips.
- Point the tips slightly outward for a dramatic look.
- Overlap some petals to make the flower look full.
These petals give the protea its signature spiky appearance.
- Add Inner Petal Layers
Proteas have layers of petals that create depth.
- Draw shorter petals inside the outer layer.
- Keep these petals more upright and closer together.
- Let them curve gently inward toward the center.
- Make sure they appear tucked behind the outer petals.
Layering petals makes the flower look rich and three-dimensional.
- Create the Textured Center
The center of the protea is detailed but can be simplified.
- Fill the center area with small vertical or curved lines.
- Keep the lines close together to show texture.
- Vary the line lengths slightly for a natural look.
- Avoid pressing too hard so the texture stays subtle.
This textured center contrasts nicely with the bold outer petals.
- Draw the Stem
The stem supports the heavy flower head.
- Draw two vertical lines extending downward from the base.
- Make the stem thicker than that of a delicate flower.
- Keep it straight or slightly curved.
- Ensure it connects smoothly to the flower base.
A sturdy stem balances the large flower visually.
- Add Leaves
Protea leaves are broad and smooth.
- Draw one or two large oval leaves along the stem.
- Keep the edges smooth and slightly rounded.
- Add a central vein to each leaf.
- Angle the leaves outward for balance.
These leaves help frame the flower and complete the plant.
- Finalize with Shading and Clean Lines
Finish your drawing by refining and adding depth.
- Darken your final outlines carefully.
- Erase any remaining sketch lines.
- Add light shading under the petals to show depth.
- Shade one side of the stem and leaves to suggest light direction.
- Keep shading soft so the flower remains elegant.
These final touches bring your protea drawing together and give it a polished, attractive look.
Also Read: How To Draw A Palm Tree