

How To Draw A Tie

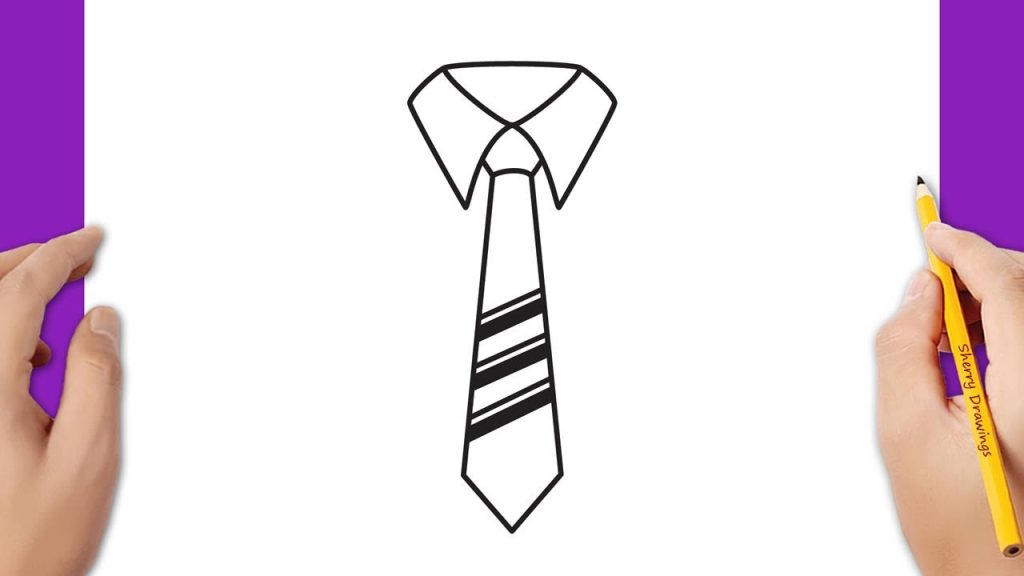
Drawing a tie is a simple and useful exercise because a tie is made from clear shapes and straight lines. Ties are common in school uniforms, office wear and formal outfits, which makes them helpful to know how to draw. Even though a tie may look detailed, it becomes easy when you break it down into its main parts: the knot, the long body and the pointed tip. By keeping your lines clean and your shapes balanced, you can draw a neat and realistic tie. This guide explains how to draw a tie in an easy and clear way.
- Start with the Tie Knot
Begin by drawing the knot at the top.
- Draw a small upside-down triangle or trapezoid shape.
- Keep the shape centered and symmetrical.
- Use light pencil strokes so adjustments are easy.
- Make sure the knot is not too large.
The knot is the anchor point for the rest of the tie.
- Draw the Tie Body
The body is the long hanging part of the tie.
- Draw two slightly angled lines extending down from the knot.
- Keep the lines evenly spaced.
- Make the body wider near the top and narrower toward the tip.
- Ensure both sides are symmetrical.
This creates the main length and shape of the tie.
- Add the Pointed Tip
The tip gives the tie its classic look.
- Draw a sharp V-shape at the bottom of the tie.
- Connect the V-shape smoothly to the body lines.
- Keep the tip centered.
- Make sure it is not too short or too long.
A clean pointed tip makes the tie look complete.
- Draw the Inner Fold
Ties usually have a fold that adds depth.
- Draw a thin vertical line slightly off-center down the body.
- Keep the line light and straight.
- Let it run from below the knot to near the tip.
- This line represents the folded fabric.
This detail makes the tie look more realistic.
- Add Simple Patterns or Stripes
Patterns give the tie style and character.
- Draw diagonal lines for classic stripes.
- Add small dots or shapes for a patterned look.
- Keep designs evenly spaced.
- Avoid heavy patterns to maintain a clean appearance.
Simple designs help the tie look stylish without clutter.
- Refine the Knot Details
The knot can be made more realistic with small touches.
- Add short angled lines inside the knot to show folds.
- Keep the lines subtle.
- Avoid adding too many details.
- Make sure the knot still looks neat.
These lines give the knot a fabric-like appearance.
- Finalize with Clean Lines and Light Shading
Finish your drawing by refining and adding depth.
- Darken the final outlines carefully.
- Erase any extra sketch lines.
- Add light shading along one side of the tie.
- Shade under the knot to show depth.
- Keep shading soft and smooth.
Also Read: How To Draw A Protea