

How To Draw A Volcano

Drawing a volcano is an exciting way to combine natural shapes with dramatic details. Volcanoes have a strong, recognizable form, with a wide base, sloping sides and a crater at the top. Even though they can look complex, volcanoes are easy to draw when you break them into simple shapes and add details gradually. This makes them perfect for school projects, geography lessons or creative artwork. This guide explains how to draw a volcano in a clear and easy way using smooth lines and simple features.
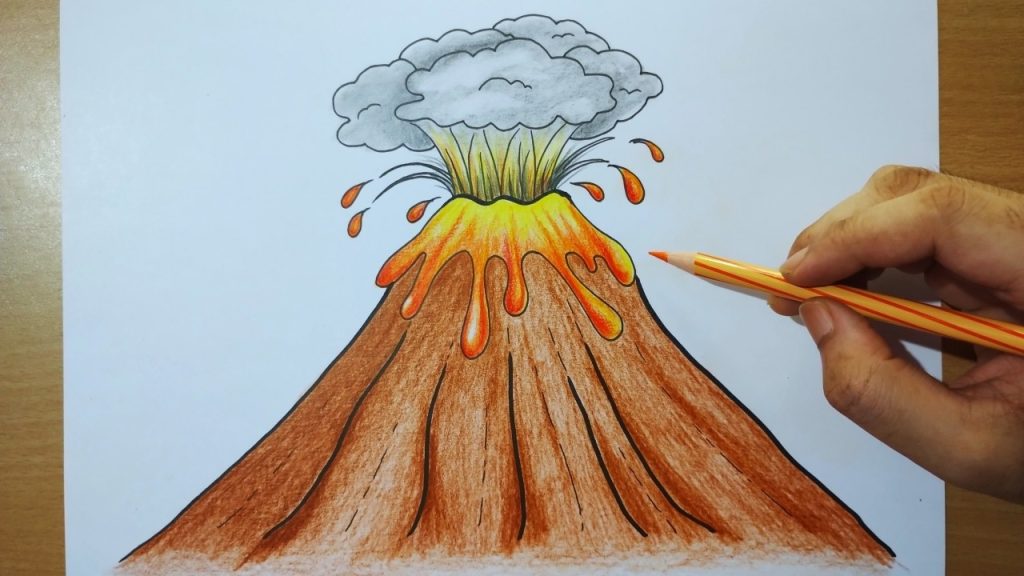
- Start with the Basic Mountain Shape
Begin by drawing the main outline of the volcano.
- Draw a large triangle or cone shape in the center of your page.
- Make the base wide and the top narrow.
- Keep the sides slightly curved rather than straight.
- Use light pencil strokes so changes are easy.
This shape forms the foundation of your volcano drawing.
- Draw the Crater Opening
The crater is the opening at the top of the volcano.
- Draw a curved oval or U-shape near the peak.
- Make the opening wider than it is deep.
- Tilt it slightly to show depth.
- Keep the lines smooth and natural.
The crater adds realism and shows where lava emerges.
- Add the Inner Crater Depth
Showing depth makes the volcano look three-dimensional.
- Draw a smaller curved line inside the crater.
- Keep it parallel to the opening edge.
- Shade the inner area lightly.
- Leave the outer edge slightly darker.
This detail helps the crater look hollow.
- Draw Lava Flowing Down the Sides
Lava gives the volcano its dramatic effect.
- Draw wavy lines flowing from the crater down the slopes.
- Make the lava streams uneven and natural.
- Vary the thickness of each lava flow.
- Let some lava stop partway down the mountain.
Flowing lava brings movement and energy to the drawing.
- Add Surface Texture to the Volcano
Texture makes the volcano look rough and rocky.
- Draw short curved or jagged lines along the sides.
- Add small cracks and bumps.
- Keep the texture heavier near the base.
- Avoid overloading the surface with details.
These small marks help the volcano feel solid and natural.
- Add Smoke, Ash or Clouds
Smoke and ash make the volcano more dynamic.
- Draw soft, swirling cloud shapes rising from the crater.
- Make the smoke wider as it moves upward.
- Add small dots or specks for ash.
- Keep the smoke lines light and loose.
These details give your volcano a powerful and active look.
- Add Ground and Surroundings
Placing the volcano in a setting completes the scene.
- Draw a simple ground line at the base.
- Add small rocks or cracks near the bottom.
- Draw distant hills or trees if desired.
- Keep background elements simple.
A simple setting helps focus attention on the volcano.
- Finalize with Shading and Clean Lines
Finish your drawing by refining and adding depth.
- Darken your final outlines carefully.
- Erase extra sketch lines.
- Shade one side of the volcano to show light direction.
- Shade the inside of the crater more deeply.
- Add darker shading under lava flows.
Also Read: How To Draw A Tie