

How To Draw An Apple

Drawing an apple is a great way to practice simple shapes, curves and shading. Apples are familiar objects with a soft, rounded form that makes them perfect for beginners and school art lessons. Even though an apple looks simple, small details such as the stem, leaf and gentle shading help bring it to life. By breaking the apple into basic steps and adding details gradually, you can create a clean and realistic drawing. This guide explains how to draw an apple in an easy and clear way.
- Start with a Basic Circle
Begin by drawing the main shape of the apple.
- Draw a medium-sized circle in the center of your page.
- Keep the shape slightly uneven rather than perfectly round.
- Use light pencil strokes so corrections are easy.
- Leave space at the top for the stem.
A slightly uneven circle helps the apple look more natural.
- Shape the Top and Bottom
Apples have gentle dips at the top and bottom.
- Draw a small inward curve at the top center of the circle.
- Add a shallow curve at the bottom.
- Smooth the sides so the shape flows naturally.
- Avoid sharp angles.
These curves give the apple its recognizable form.
- Draw the Stem
The stem adds character to the apple.
- Draw a short, thin curved line at the top dip.
- Make the stem slightly thicker at the base.
- Tilt it gently to one side.
- Keep the stem simple and natural.
A slightly bent stem makes the apple look realistic.
- Add a Leaf (Optional)
A leaf can make the apple more interesting.
- Draw an oval or teardrop shape attached to the stem.
- Add a small line down the center of the leaf.
- Curve the leaf slightly for a natural look.
- Keep the size balanced with the apple.
The leaf adds extra detail without making the drawing complicated.
- Add Surface Details
Small details help bring the apple to life.
- Draw tiny dots or marks for texture.
- Add a soft curved line to show light reflection.
- Keep details subtle.
- Avoid cluttering the surface.
These touches make the apple look smooth and fresh.
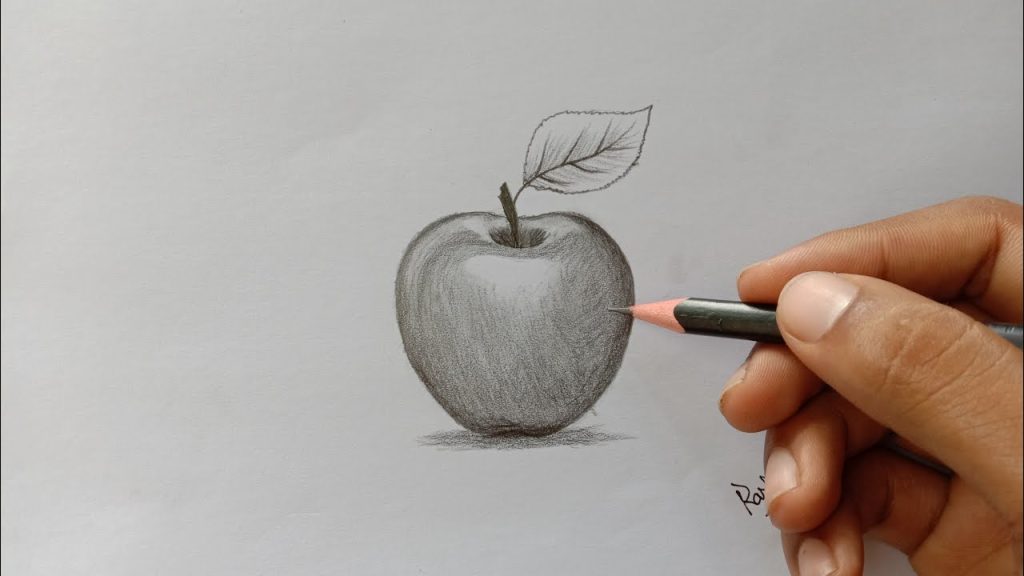
- Add Shading for Depth
Shading gives the apple a three-dimensional look.
- Choose one side of the apple to be darker.
- Shade gently along the edges.
- Leave a lighter area for the highlight.
- Shade slightly under the apple to show a shadow.
Smooth shading helps the apple look round and solid.
- Finalize with Clean Lines
Finish the drawing by refining your work.
- Darken the final outline carefully.
- Erase any extra sketch lines.
- Smooth out shading where needed.
- Check that the shape looks balanced.
Also Read: How To Draw A Tie