

How To Draw An Eagle

Drawing an eagle is an enjoyable way to develop your ability to observe detail and capture the spirit of a strong and elegant bird. Eagles have sharp features, broad wings and confident posture, which makes them great subjects for anyone who wants to improve their sketching skills. When you approach the drawing step by step, the process becomes easier and gives you room to relax, correct mistakes and add personality to your work. The goal is not perfection but a realistic impression that shows the power and grace of an eagle. With a pencil, a clean sheet of paper and patient observation, you can turn simple shapes into a detailed bird that looks alive. The guide below breaks the process into clear stages to help you understand what to focus on as your drawing grows.
- Understanding the Basic Shape of an Eagle
Before jumping into details, it helps to look at an eagle as a group of simple forms. This keeps your drawing balanced and avoids the frustration of fixing the whole bird once details are already added.
- The head is a circle or oval.
- The body is a large slanted oval.
- The wings begin as long curved shapes stretching from the upper body.
- The tail forms a smaller triangle at the back.
- The legs drop straight down under the body.
Spend a moment comparing these shapes to reference images. This early stage gives your drawing its posture, so aim for a natural forward tilt that matches the proud look of an eagle.
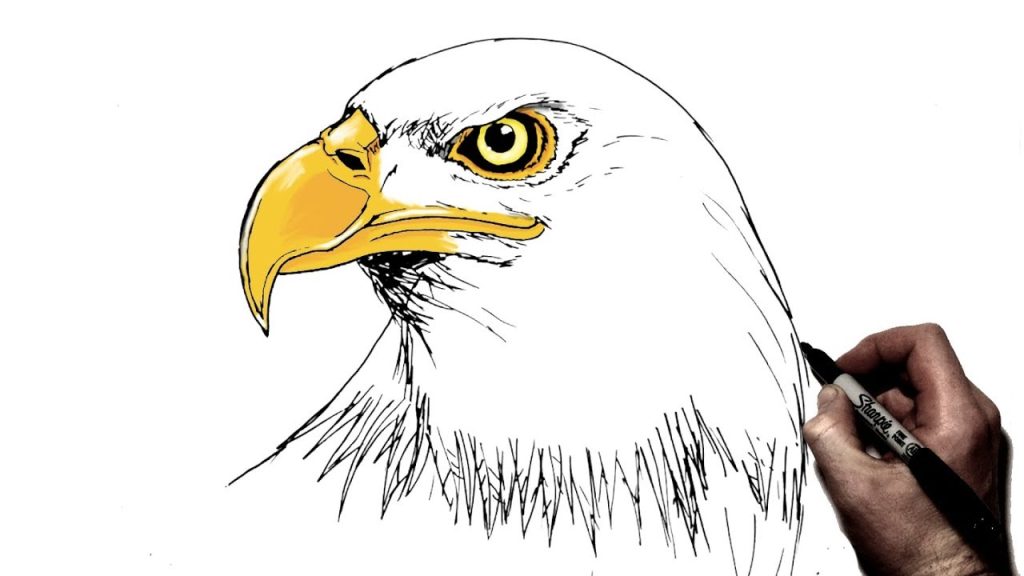
- Drawing the Head and Beak
Once your basic shapes feel right, move to the head. Eagles have a bold face with strong angles that define their character.
- Refine the head shape so it becomes slightly pointed at the front.
- Add the curved line of the beak starting from the upper head and bending downward.
- Add a smaller shape below it to form the lower beak.
- Place the eye just above the beak line. Eagles have intense eyes with a firm expression.
- Add a small curve above the eye to create the brow that gives an eagle its fierce look.
Take your time here because the face creates the emotion of the drawing. If the beak looks too long or short, erase lightly and reshape it until it matches the bird’s natural proportions.
- Shaping the Body and Wings
The wings show the strength of an eagle, so this part deserves careful attention.
- Smooth the body oval by rounding the chest and narrowing the back.
- Extend each wing upward and outward using long sweeping curves.
- Once the shape feels balanced, add feathers in layers. Start with large feathers at the bottom and smaller feathers near the top.
- Add a slight bend near the middle of each wing to make them look flexible and natural.
Your aim is not to draw every feather but to show the overall flow and pattern. This gives the wings movement and realism.
- Adding Legs, Claws and Tail Feathers
Eagles have sturdy legs that support their strong bodies. Their claws are sharp and curved.
- Draw thick legs dropping from the lower body.
- Add toes that stretch outward with hooked talons at the end.
- Shape the tail into a fan of long feathers. You can draw five to seven main lines then fill the gaps with lighter strokes.
The legs and tail help balance the drawing, so make sure they line up naturally with the rest of the body.
- Final Details and Shading
Shading brings your eagle to life by adding depth and texture.
- Add short strokes around the head to show soft feathers.
- Darken the eye for a focused look.
- Shade the underside of the wings to give a sense of light and shadow.
- Add texture on the beak with small lines near the curve.
- Deepen the tail feathers with gentle shading.
Also Read: How To Delete Incognito History