

How To Fix A Plug

Fixing a plug is a useful skill that can save you money and time. Whether your plug is damaged, loose, or not working properly, you can often repair it yourself with just a few basic tools. However, safety is very important when dealing with electricity, so always take precautions before starting. Here is how to fix a plug.
- Gather Your Tools
To fix a plug, you’ll need:
- A screwdriver (usually flat-head)
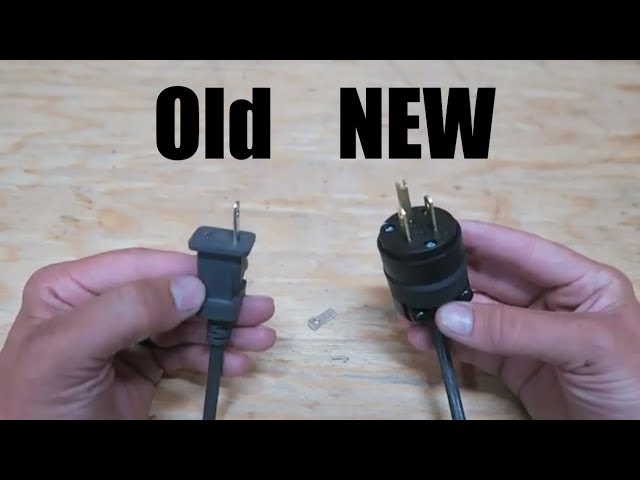
- A replacement plug (if the original one is broken)
- Wire strippers or a sharp knife
- Electrical tape (if needed)
Make sure the appliance is unplugged from any power source before beginning.
- Open the Plug
Use a screwdriver to unscrew and open the plug casing. Set the screws aside in a safe place. If the plug is molded (sealed plastic), it cannot be opened and should be replaced with a new plug.
- Inspect the Wires
Inside the plug, you’ll see three wires:
- Brown (live wire)
- Blue (neutral wire)
- Green and yellow (earth/ground wire)
Check for any loose, burnt, or broken wires. If wires are frayed or damaged, cut off the damaged section and strip about 1 cm of insulation from the ends using wire strippers or a knife.
- Connect the Wires to the Correct Pins
Most plugs have labels near the pins to guide you:
- The live (brown) wire goes to the pin labeled “L”
- The neutral (blue) wire goes to the pin labeled “N”
- The earth (green/yellow) wire goes to the longest pin labeled “E” or with a ground symbol
Loosen the screws on each pin, insert the stripped wire ends, and tighten the screws securely. Ensure no bare wires are sticking out and that all wires are firmly held in place.
- Check the Cable Grip
The plug has a cable clamp or grip that holds the outer cable sheath in place. This prevents the inner wires from pulling loose if the cord is tugged. Make sure the grip is holding the cable securely and tighten it if needed.
- Close the Plug
Once everything is secure and tidy inside the plug, close the casing and screw it shut. Make sure the plug feels firm and nothing is rattling inside.
- Test the Plug
Plug the appliance into a power outlet and test if it works. If the problem persists, there may be an issue with the device itself or with the wiring beyond the plug.
Safety Tips
- Always unplug the appliance before working on it.
- Never use a damaged or loose plug.
- If the wire is too short or melted, it’s safer to replace the entire cable or ask a qualified electrician for help.
- Avoid repairing appliances if you’re unsure of the electrical safety requirements.
Also Read: How To Eat Persimmon Fruit