

How To Fix Cracks In Plaster Walls

Cracks in plaster walls are a common problem in many homes, especially older buildings or houses that have experienced settling, moisture changes, or structural movement. While some cracks are purely cosmetic, others may indicate underlying issues that need attention. Ignoring plaster cracks can lead to further damage, dust buildup, and an untidy appearance. The good news is that most plaster wall cracks can be repaired easily using basic tools and materials. This guide explains how to fix cracks in plaster walls in a practical, clear, and beginner-friendly way.
- Understand the Types of Plaster Cracks
Identifying the type of crack helps you choose the right repair method.
- Hairline cracks caused by normal settling
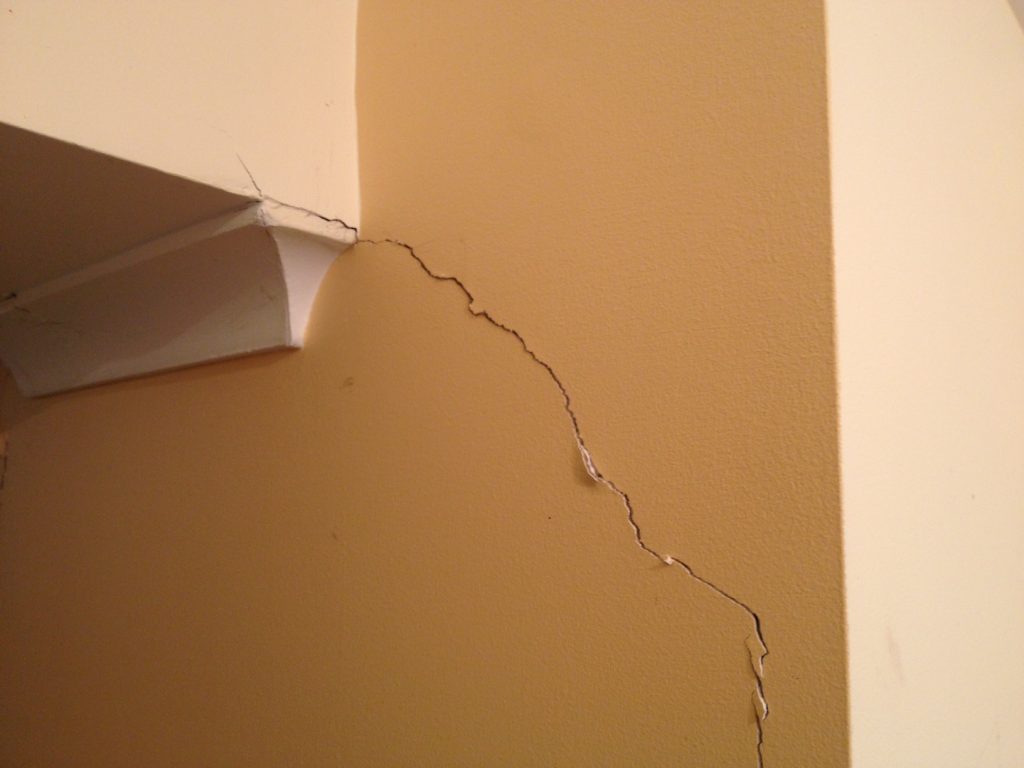
- Vertical or diagonal cracks from building movement
- Cracks around doors and windows due to stress
- Wide or recurring cracks linked to moisture or structural issues
Not all cracks are serious, but understanding them is important.
- Determine Whether the Crack Is Structural or Cosmetic
Before fixing, assess the severity.
- Small, thin cracks are usually cosmetic
- Wide cracks that grow over time may be structural
- Cracks with dampness may indicate water damage
- Bulging or crumbling plaster needs extra attention
Serious cracks may require professional inspection.
- Gather the Necessary Tools and Materials
Having everything ready makes the job easier.
- Putty knife or scraper
- Utility knife
- Sandpaper or sanding block
- Plaster filler or joint compound
- Plaster bonding agent if needed
- Paintbrush or roller
- Matching wall paint
Quality materials ensure long-lasting results.
- Prepare the Area Before Repair
Preparation is key to a smooth finish.
- Remove loose or crumbling plaster
- Widen the crack slightly with a knife
- Clean out dust and debris
- Wipe the area with a damp cloth
A clean surface helps the filler adhere properly.
- Apply a Bonding Agent if Necessary
Bonding agents improve adhesion.
- Recommended for older or dusty plaster
- Apply with a brush
- Allow it to become tacky
- Do not skip for deep cracks
This step strengthens the repair.
- Fill the Crack with Plaster Filler
Proper filling ensures durability.
- Use a putty knife to press filler into the crack
- Fill from different angles
- Slightly overfill the crack
- Smooth the surface as much as possible
Overfilling allows for sanding later.
- Use Plaster Tape for Wider Cracks
Tape prevents cracks from reopening.
- Apply fiberglass or plaster tape over the crack
- Press it firmly into place
- Cover with a thin layer of filler
- Smooth the surface carefully
This adds strength to the repair.
- Allow the Filler to Dry Completely
Drying time is essential.
- Follow the product’s drying instructions
- Avoid touching the area too soon
- Ensure good ventilation
- Do not rush this step
Incomplete drying can ruin the finish.
- Sand the Repaired Area Smooth
Sanding creates a seamless surface.
- Use fine-grit sandpaper
- Sand gently in circular motions
- Blend edges into the wall
- Remove dust after sanding
A smooth surface improves paint results.
- Apply a Second Coat if Needed
Some cracks require more than one layer.
- Apply a thin second coat of filler
- Allow it to dry
- Sand lightly again
- Check for imperfections
Multiple thin layers are better than one thick layer.
- Prime the Repaired Area
Priming prevents patch marks.
- Use a suitable wall primer
- Apply evenly over the repair
- Let it dry completely
- Ensure full coverage
Primer prepares the surface for painting.
- Paint to Match the Wall
Painting completes the repair.
- Use matching wall paint
- Apply with a roller or brush
- Feather the edges for blending
- Apply a second coat if necessary
Proper painting hides the repair completely.
- Fix Cracks Caused by Moisture
Moisture issues must be resolved first.
- Identify the source of moisture
- Fix leaks or dampness
- Allow the wall to dry fully
- Repair the crack only after drying
Ignoring moisture will cause cracks to return.
- Prevent Cracks from Reappearing
Prevention saves future repairs.
- Control indoor humidity
- Repair leaks promptly
- Avoid slamming doors
- Maintain stable temperatures
Good maintenance reduces wall stress.
- Know When to Call a Professional
Some situations require expert help.
- Cracks that keep returning
- Large or spreading cracks
- Structural movement signs
- Extensive plaster damage
Professionals can address deeper issues.
- Safety Tips When Repairing Plaster Walls
Safety should always come first.
- Wear a dust mask when sanding
- Use gloves to protect your hands
- Ensure good ventilation
- Keep tools away from children
Safe practices prevent injuries.
- Benefits of Fixing Plaster Cracks Early
Early repair offers many advantages.
- Prevents further wall damage
- Improves appearance
- Maintains property value
- Reduces repair costs
Small fixes make a big difference.
- Final Tips for Fixing Cracks in Plaster Walls
Keep these points in mind.
- Always prepare the surface properly
- Use quality filler and tools
- Allow enough drying time
- Address underlying causes
Also Read: How To Edit Videos On Your Phone