

How to Install Cornice Easily and Neatly at Home

Learning how to install cornice is a great way to improve the appearance of a room without major renovation work. Cornices, also known as crown mouldings, are decorative trims installed where the wall meets the ceiling. They help hide imperfections, add elegance, and give rooms a finished, professional look.
This article explains the tools needed, preparation steps, and the correct method for installing cornice neatly and securely.
-
What Cornice Is and Why It Is Used
Cornice is a decorative moulding fitted along the ceiling edge.
Cornice is used to:
- Improve interior aesthetics
- Hide cracks and uneven joints
- Add character and style to rooms
- Create a smooth transition between wall and ceiling
Cornices come in different designs, materials, and sizes.
-
Choose the Right Type of Cornice
Selecting the correct cornice makes installation easier.
Common types include:
- Polystyrene cornice
- Polyurethane cornice
- Gypsum or plaster cornice
- PVC cornice
Lightweight cornices are easier for beginners to install.
-
Gather the Required Tools and Materials
Having the right tools ensures smooth installation.
You will need:
- Cornice pieces
- Cornice adhesive or mounting glue
- Measuring tape
- Pencil
- Hand saw or mitre box
- Utility knife
- Caulking gun
- Step ladder
- Damp cloth or sponge
Preparation saves time and prevents mistakes.
-
Measure the Room Accurately
Correct measurements reduce waste.
Steps to follow:
- Measure the length of each wall
- Add extra length for cutting mistakes
- Mark cutting points clearly
- Dry-fit pieces before gluing
Accurate measuring ensures neat joints.
-
Cut the Cornice to Size
Proper cutting is essential for clean corners.
Cutting tips include:
- Use a mitre box for angled corners
- Cut internal and external corners carefully
- Test-fit each piece before installation
- Label pieces if necessary
Take your time to avoid gaps.
-
Apply Adhesive Correctly
Good adhesive application ensures strong bonding.
How to apply adhesive:
- Apply adhesive evenly along both edges of the cornice
- Add extra adhesive near joints
- Avoid excessive glue to prevent mess
Use adhesive recommended by the manufacturer.
-
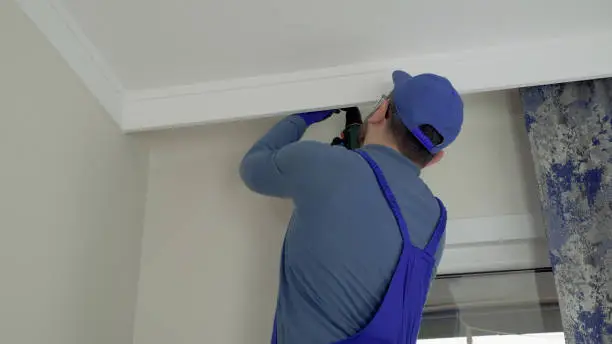
Fix the Cornice to the Wall and Ceiling
Correct placement gives a professional finish.
Steps include:
- Press the cornice firmly into position
- Align it with ceiling and wall edges
- Hold for a few seconds to allow adhesion
- Support long pieces if necessary
Work around the room systematically.
-
Join Cornice Pieces Neatly
Clean joints improve the final appearance.
To achieve neat joints:
- Apply adhesive to joining ends
- Press joints tightly together
- Remove excess glue immediately
- Smooth joints with a damp cloth
Well-fitted joints look seamless after painting.
-
Fill Gaps and Smooth the Surface
Finishing touches make a big difference.
Use filler to:
- Fill small gaps
- Smooth uneven joints
- Cover nail or glue marks
Allow filler to dry fully before painting.
-
Paint the Cornice for a Finished Look
Painting enhances the cornice design.
Painting tips:
- Use ceiling or trim paint
- Apply thin, even coats
- Use a small brush for edges
- Protect walls and ceilings from drips
Paint after adhesive and filler have dried.
Also Read: How to Insert a Footer in Excel Easily and Correctly