

How To Make A 3D Mask

Creating a 3D mask can be a fun and useful craft project, whether for protection, costume design, or artistic expression. Unlike flat masks, a 3D mask is designed to fit the contours of the face more comfortably. It can be made using various materials, including fabric, paper, cardboard, or even clay. The method chosen depends on whether the mask is for everyday use, cosplay, theater, or display. Here is how to make a 3d mask.
- Choosing the Right Material
The type of material you use will determine the durability, flexibility, and breathability of the mask.
- Fabric – Ideal for comfortable, reusable face masks
- Paper or Cardboard – Great for lightweight costume masks
- Clay or Plaster – Used for sculpted masks with fine details
- Foam or EVA Foam – Popular for cosplay and durable masks
Each material requires different tools and techniques for shaping into a 3D form.
- Making a 3D Fabric Mask
A fabric 3D mask is commonly used for health protection and is more comfortable than flat masks.
- Find a pattern – Many 3D mask templates are available online. You can print one or create a pattern using paper
- Cut the fabric – Use two layers of fabric for better protection. Cut pieces for both the inner and outer layers
- Sew the curved edges – This is what gives the mask its 3D shape, fitting around the nose and chin
- Attach elastic straps – Measure and attach elastic ear loops or fabric ties for securing the mask
- Press and finish – Iron the mask for a clean look and topstitch for added durability
This type of mask is washable and reusable, making it a practical option for daily wear.
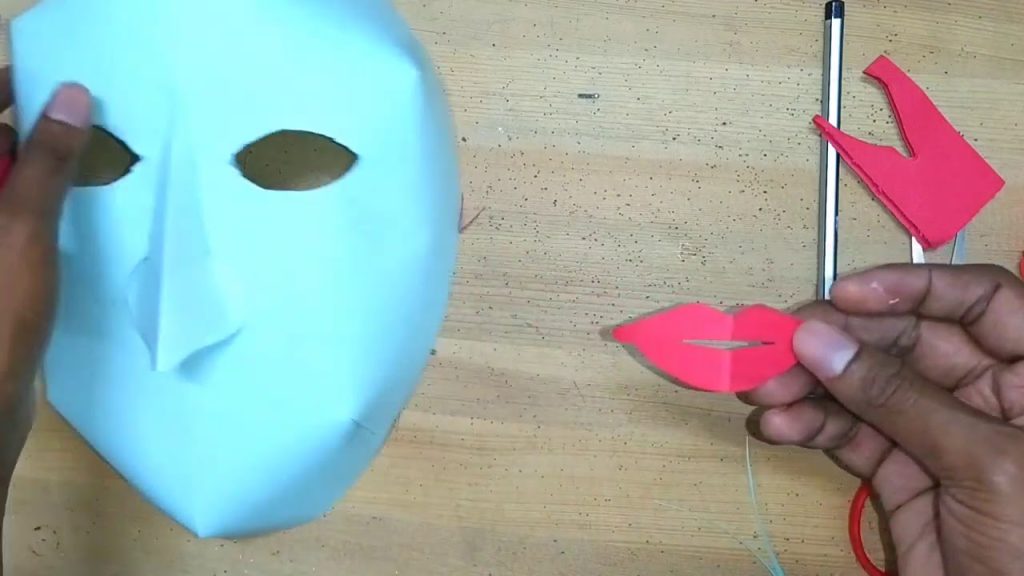
- Making a 3D Paper or Cardboard Mask
A paper or cardboard 3D mask is perfect for costumes, parties, or creative projects.
- Choose a design – Sketch a simple shape like an animal, superhero, or Venetian mask
- Print or draw a template – Many free printable 3D mask templates can be folded into shape
- Cut and fold – Use scissors or a craft knife to cut along the edges, and fold along dotted lines to create depth
- Glue or tape the pieces together – Assemble the mask by securing the tabs with glue or tape
- Add details – Paint, add glitter, or use markers for custom designs
Cardboard masks are sturdy and can be enhanced by layering paper or using papier-mâché for texture.
- Making a 3D Sculpted Mask with Clay or Plaster
For a detailed or theatrical mask, clay or plaster is the best choice.
- Make a base mold – Use a balloon, mannequin head, or a plastic mask as the base
- Apply layers of clay or plaster – Build up layers to shape the mask to fit a face
- Carve details – Use sculpting tools to add textures, patterns, or facial features
- Let it dry completely – Air-dry clay or bake polymer clay for durability
- Paint and finish – Use acrylic paint, varnish, or sealant to decorate and protect the mask
These masks are great for display, cosplay, or theater productions, but they are not flexible for everyday wear.
- Making a 3D Foam Mask for Cosplay
Foam is a lightweight and flexible material, perfect for making superhero, animal, or fantasy masks.
- Use EVA foam sheets – Available in different thicknesses for different mask styles
- Cut and heat-shape – Use a heat gun to bend and mold the foam into a 3D shape
- Glue the pieces together – Use hot glue or contact cement for strong bonds
- Carve details – Use a knife or rotary tool to add textures and patterns
- Paint and seal – Acrylic paint with a sealant keeps the mask looking polished
Foam masks are lightweight, durable, and comfortable for long wear.
- Adding Straps and Comfort Features
No matter which material you choose, a mask needs secure straps for wearing:
- Elastic bands – Adjustable and stretchable for fabric masks
- Ribbon or string ties – Great for decorative masks that tie at the back
- Velcro or clips – Useful for cosplay or custom-fit masks
For added comfort, foam padding or fabric lining can be placed inside the mask.
Also Read: How To Install Downlights