

How to Make a Cardboard Guitar

How to make a cardboard guitar is a fun and creative project that is perfect for kids, school assignments, decorations, or simple DIY entertainment at home. A cardboard guitar may not produce real music, but it is excellent for imaginative play, learning basic guitar structure, or creating props for performances and photoshoots. With simple materials that are easy to find, you can create a realistic-looking cardboard guitar while developing creativity and basic crafting skills.
-
Gather the materials you will need
Before starting, it is important to collect all materials so the process runs smoothly. Most of these items are affordable and commonly available at home. You will need:
- Cardboard boxes or thick cardboard sheets
- Pencil or marker
- Scissors or a craft knife
- Ruler
- Glue or strong tape
- Rubber bands or string
- Paint, colored paper, or markers for decoration
Using thick cardboard makes the guitar stronger and more durable.
-
Draw the guitar shape on cardboard
The shape of the guitar determines how realistic it will look. Take time to draw it neatly. When drawing the outline:
- Sketch a guitar body with curves on both sides
- Add a long neck and a small headstock at the top
- Make sure all parts are connected as one piece
Using a ruler helps keep the neck straight and proportional.
-
Cut out the guitar carefully
Once the outline is complete, cut out the guitar shape. This step requires patience to achieve clean edges. Keep in mind:
- Cut slowly to avoid tearing the cardboard
- Ask for adult help if using a sharp blade
- Smooth rough edges after cutting
A clean cut improves the final appearance of the guitar.
-
Create the sound hole and details
Although the guitar will not produce sound, adding realistic features improves the design. To add details:
- Draw a circle in the center of the body for the sound hole
- Cut it out carefully
- Draw frets along the neck using a ruler
These details make the cardboard guitar look more authentic.
-
Add thickness and strength
To make the guitar stronger, add extra layers of cardboard. This also gives it a more solid feel. You can do this by:
- Cutting a second guitar shape
- Gluing both pieces together
- Pressing them firmly until dry
Extra layers prevent bending and improve durability.
-
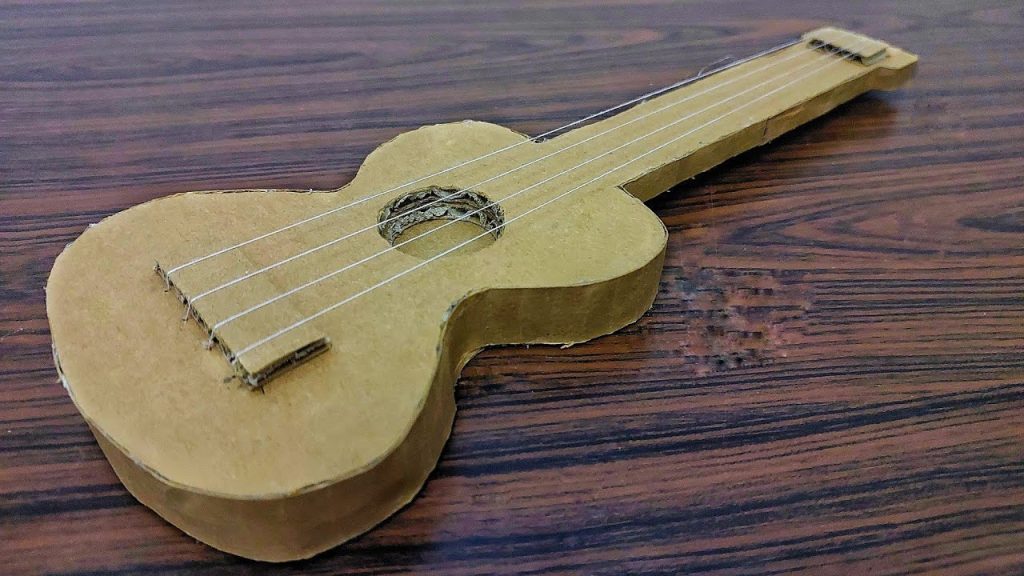
Attach strings to the guitar
Strings are an important part of the guitar’s look. Rubber bands work best for this step. To attach strings:
- Stretch rubber bands from the headstock to the bottom of the body
- Space them evenly across the sound hole
- Secure them tightly at both ends
This gives the guitar a realistic string effect.
-
Decorate and personalize the guitar
Decoration is where creativity really shines. You can style your guitar however you like. Decoration ideas include:
- Painting the guitar in bright or classic colors
- Adding stickers or designs
- Writing a band name or your name on it
Letting the guitar dry completely ensures a clean finish.
-
Let everything dry and test the guitar
After decorating, allow all glued and painted parts to dry properly. Once dry:
- Check that all parts are firmly attached
- Adjust loose strings if needed
- Hold and play the guitar for fun
Proper drying helps the guitar last longer.
Also Read: How to Make a Bed Like a Hotel