

How to Make a Cardboard Hat

How to make a cardboard hat is a creative and practical craft idea that works well for school projects, costumes, parties, and imaginative play. Cardboard hats are easy to design, inexpensive to make, and can be customized into many styles, from simple party hats to themed costume pieces. With basic materials and careful measurements, you can create a cardboard hat that fits comfortably and looks impressive.
-
Gather the materials you will need
Before starting, prepare all the materials to make the process smooth and enjoyable. Most items are easy to find at home. You will need:
- Cardboard from boxes or thick sheets
- Pencil or marker
- Ruler or measuring tape
- Scissors or a craft knife
- Glue or strong tape
- Paint, markers, or colored paper for decoration
Using flexible but sturdy cardboard helps the hat hold its shape.
-
Measure your head size
Proper measurement ensures the hat fits well and feels comfortable. Use a measuring tape or string to measure around your head where the hat will sit. When measuring:
- Leave a little extra space for comfort
- Write down the measurement
- Avoid making the hat too tight
Accurate measurements prevent the hat from slipping or squeezing.
-
Decide on the hat style
There are many cardboard hat styles you can choose from depending on the purpose. Decide on the style before cutting the cardboard. Common styles include:
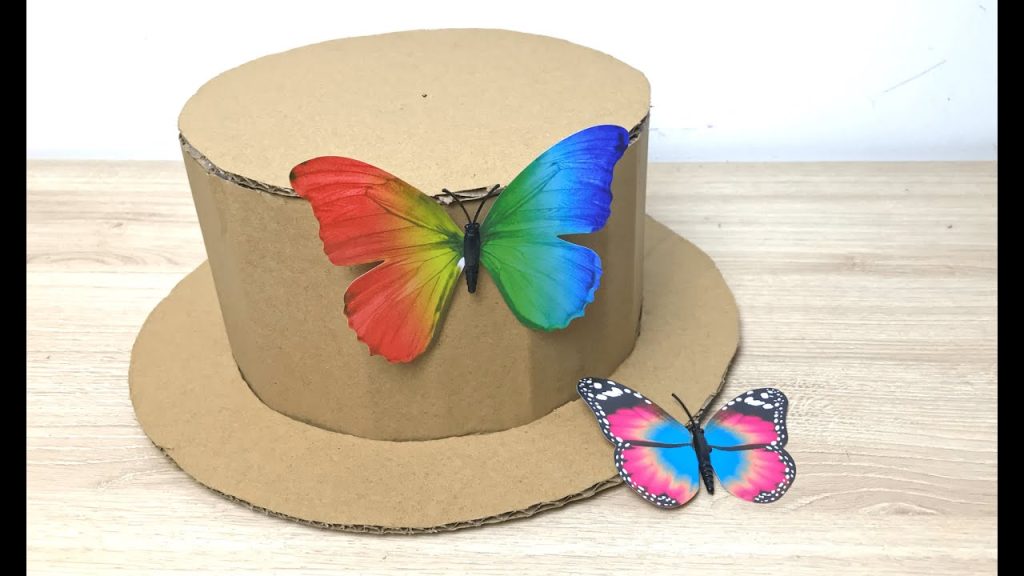
- A top hat
- A crown
- A party or cone hat
- A cowboy or costume hat
Choosing the style helps determine the shape and pieces you need.
-
Cut the main hat band or base
The hat band forms the main structure of the hat. Cut a long rectangular strip based on your head measurement. Important points include:
- Making the strip tall enough for the hat style
- Keeping edges straight and even
- Wrapping the strip around your head to test the fit
Once satisfied, glue or tape the ends together to form a circle.
-
Create and attach the top or brim
Depending on the hat style, you may need a top piece or brim. To do this:
- Trace a circle using the hat band as a guide
- Cut out the shape carefully
- Glue it securely to the top or bottom of the band
This step gives the hat its final shape and structure.
-
Reinforce the hat for strength
Cardboard hats last longer when reinforced properly. You can strengthen the hat by:
- Adding extra cardboard layers inside
- Using strong glue along seams
- Allowing enough drying time
Reinforcement helps the hat keep its shape during use.
-
Decorate and personalize the hat
Decoration transforms a simple cardboard hat into something special. Get creative with colors and designs. Decoration ideas include:
- Painting the hat in bright or themed colors
- Adding paper shapes, ribbons, or stickers
- Writing names, messages, or symbols
Personalization makes the hat more fun and unique.
-
Allow the hat to dry and test the fit
After decorating, allow the hat to dry completely. Once dry:
- Place the hat on your head to check comfort
- Adjust any loose or sharp edges
- Secure decorations if needed
Testing ensures the hat is safe and comfortable to wear.
Also Read: How to Make a Bed Like a Hotel