

How to Make a Drip

How to make a drip is an essential skill for anyone who wants to decorate cakes with a smooth, professional finish. A cake drip is the glossy icing that flows gently down the sides of a cake, creating an elegant and modern look. Drip cakes are popular for birthdays, weddings, and celebrations because they are visually appealing and easy to customize with colors and toppings. With the right consistency and technique, you can make a perfect cake drip at home.
-
Understand what a cake drip is
Before making a drip, it is important to understand its purpose and texture. A cake drip is usually made from chocolate ganache or icing that is slightly runny but controlled. A good drip should:
- Flow slowly down the cake sides
- Not be too thin or too thick
- Set neatly without running to the base
Understanding this helps you achieve a clean and attractive finish.
-
Choose the type of drip you want
There are different types of cake drips depending on flavor and appearance. The most common options include:
- Chocolate ganache drip
- White chocolate drip
- Colored drip using candy melts
- Icing sugar drip
Your choice depends on the cake flavor and the look you want.
-
Gather the ingredients and tools
Having everything ready makes the process easier. Basic ingredients and tools include:
- Chocolate or candy melts
- Fresh cream or milk
- A heatproof bowl
- Spoon or squeeze bottle
- Spatula
Using a squeeze bottle gives better control, especially for beginners.
-
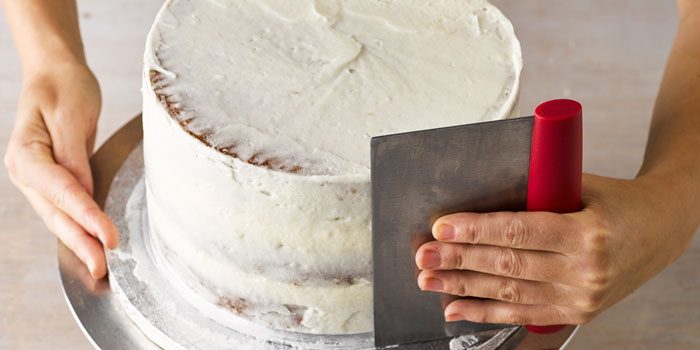
Prepare the cake properly
The cake must be ready before adding the drip. A poorly prepared cake can ruin the final look. Make sure:
- The cake is fully baked and cooled
- The cake is covered with buttercream or frosting
- The frosting is smooth and set
Chilling the cake slightly helps the drip set faster.
-
Make the drip mixture
The consistency of the drip is the most important part. To make a basic chocolate drip:
- Heat the cream until warm, not boiling
- Pour it over chopped chocolate
- Let it sit, then stir until smooth
If the drip is too thick, add a little warm cream. If it is too thin, add more melted chocolate.
-
Test the drip consistency
Before applying the drip to the cake, always test it. You can:
- Drip a small amount down the side of a bowl
- Check how fast it flows
- Adjust thickness if needed
Testing prevents mistakes on the actual cake.
-
Apply the drip to the cake
Once the consistency is right, apply the drip carefully. To do this:
- Spoon or squeeze small amounts around the cake edge
- Let each drip fall naturally
- Fill the top center last and spread gently
Working slowly gives better control and even drips.
-
Add decorations while the drip is fresh
Decorations stick best when the drip is still soft. You can add:
- Sprinkles
- Chocolate pieces
- Fruit or macarons
Decorations enhance the overall design.
-
Allow the drip to set
After decorating, let the cake rest so the drip can set properly. This helps maintain a clean finish. You can:
- Leave the cake at room temperature
- Chill it briefly if needed
Once set, the cake is ready to serve.
Also Read: How to Make a Cover Page for Assignment