

How to Make a Fish Skeleton With Straws

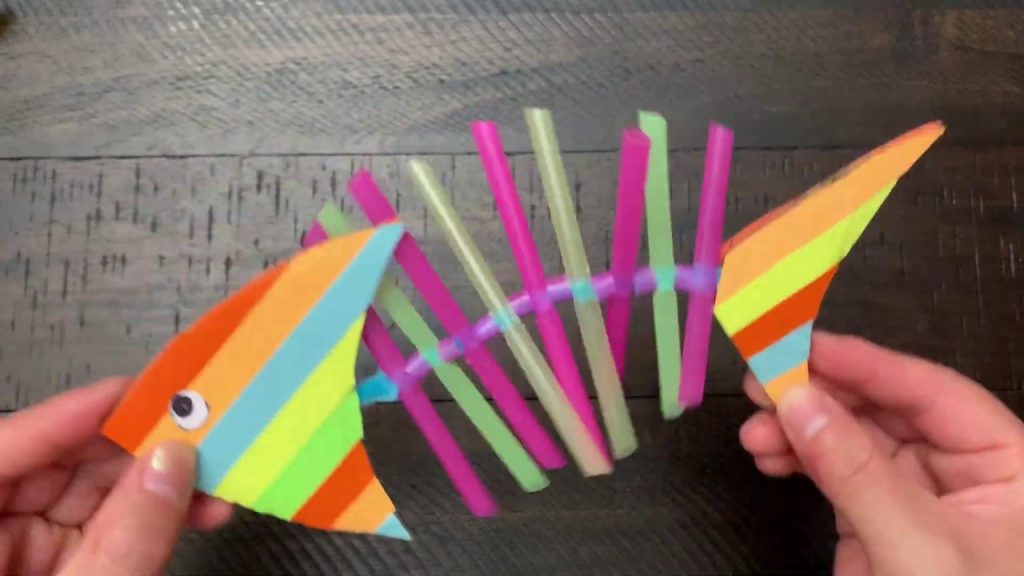
How to make a fish skeleton with straws is a creative and educational activity that is popular for school projects, science lessons, and art displays. This simple craft helps learners understand the basic structure of a fish while using affordable and easy-to-find materials. By arranging straws to represent bones, you can create a clear and visually appealing fish skeleton that is suitable for classrooms or home learning.
-
Understand the fish skeleton structure
Before starting, it is important to know what parts make up a fish skeleton. A basic fish skeleton includes:
- The head or skull
- The backbone or spine
- Rib bones
- Tail bones
Understanding this structure helps you place the straws correctly and makes the model more realistic.
-
Gather the required materials
You do not need expensive supplies to complete this project. Most materials are easy to find at home or school. You will need:
- Drinking straws
- Scissors
- Glue or tape
- White cardboard or paper
- Pencil and ruler
Optional items include markers or paint for labeling.
-
Prepare the straws
Cutting the straws correctly is important for neat results. Use scissors to:
- Cut long straws for the backbone
- Cut shorter pieces for rib bones
- Cut angled pieces for the tail area
Sorting the straw pieces by size makes assembly easier.
-
Draw the fish outline
Lightly draw a fish shape on the cardboard or paper to guide placement. The outline should include:
- A rounded head area
- A long body
- A pointed tail
This outline acts as a template and helps keep the skeleton proportionate.
-
Create the backbone
The backbone is the main support of the fish skeleton. To form it:
- Place one long straw horizontally in the center of the outline
- Glue it firmly from head to tail
- Allow it to dry slightly before adding ribs
A straight backbone keeps the entire structure balanced.
-
Add the rib bones
Ribs extend from the backbone on both sides of the fish. To add them:
- Glue short straw pieces at an angle on each side of the backbone
- Space them evenly from head to tail
- Ensure both sides match in length and spacing
Even ribs improve the appearance and accuracy of the model.
-
Form the head and tail bones
The head and tail complete the skeleton design. You can:
- Arrange small straw pieces in a circular pattern for the head
- Use angled straws to form a V shape at the tail
These details make the skeleton more recognizable.
-
Let the model dry and label parts
Once all straws are in place, allow the glue to dry completely. After drying, you may:
- Label the backbone, ribs, head, and tail
- Add color or titles for presentation
Labeling enhances the educational value.
-
Display or submit the project
Your fish skeleton is now ready. You can:
- Mount it on a display board
- Use it for a science explanation
- Submit it as a school assignment
Proper presentation makes the project stand out.
Also Read: How to Make a File Smaller