

How to Make a Robot With a Box

How to make a robot with a box is a fun and creative project that children and adults can enjoy at home or in school. Using simple materials like cardboard boxes, paint, and glue, you can transform ordinary household items into an exciting robot model. This activity encourages creativity, problem-solving, and hands-on learning. Whether it is for a school project, costume party, or just for fun, making a robot with a box is affordable and easy to do.
-
Gather the necessary materials
Before starting, collect all the materials you will need. Basic supplies include:
- One large cardboard box for the body
- A smaller box for the head
- Scissors or a craft knife
- Glue or strong tape
- Paint or colored paper
- Bottle caps, foil, or buttons for decoration
Having everything ready makes the process smooth and organized.
-
Choose the robot design
Decide what type of robot you want to create. It can be:
- A simple square robot
- A futuristic space robot
- A friendly cartoon-style robot
- A wearable robot costume
Planning the design helps you arrange the boxes correctly.
-
Prepare the body structure
Start with the largest box as the robot’s body. If the robot is wearable, you should:
- Cut holes for the arms
- Cut an opening at the bottom
- Ensure there is space to move comfortably
If it is a display model, keep the box sealed and sturdy.
-
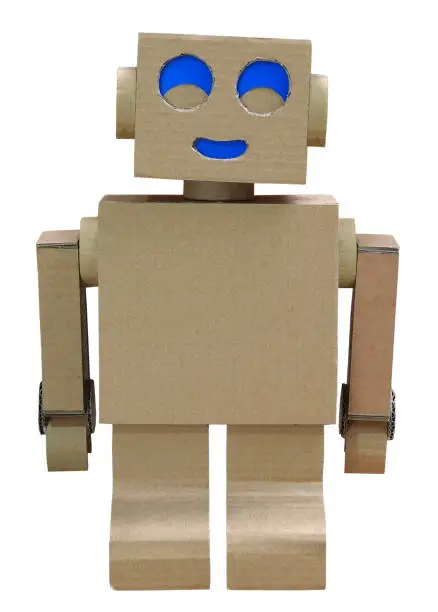
Create the robot head
Use a smaller box for the head. To make it more realistic:
- Cut eye holes if it is wearable
- Draw or attach paper eyes
- Add a mouth using paint or markers
The head gives the robot personality.
-
Add arms and legs
You can create arms and legs using extra cardboard pieces. Options include:
- Rolling cardboard into tubes
- Using paper towel rolls
- Cutting flat rectangular shapes
Attach them securely with glue or tape so they stay in place.
-
Decorate the robot
Decoration is the most exciting part of learning how to make a robot with a box. You can:
- Paint the robot silver or bright colors
- Cover parts with aluminum foil for a metallic look
- Attach bottle caps as buttons
- Draw control panels using markers
Be creative and add unique details.
-
Add final details
Small additions make the robot look more complete. Consider adding:
- Antennas made from straws or wire
- Stickers for extra design
- Cardboard gears or shapes
These finishing touches improve appearance.
-
Allow everything to dry
If you used paint or glue, give the robot enough time to dry completely. This prevents decorations from falling off.
-
Test and display your robot
Once finished, check that all parts are secure. If it is wearable, move around carefully to ensure comfort. You can display the robot at school, use it for a play, or keep it as a creative decoration.
Also Read: How to Make a Petition Letter