

How To Make Jaws Of Life Out Of Cardboard

Making a model of the jaws of life from cardboard can be a fun and educational project, especially for a school assignment or a demonstration. While the real jaws of life are powerful hydraulic rescue tools used by emergency workers, a cardboard version can be a creative way to represent how they work in a safe, simple, and hands-on way. Here is how to make jaws of life out of cardboard.
- Gather Your Materials
To make a cardboard model, you will need the following:
– Sturdy cardboard (from a box or packaging)
– Pencil and ruler
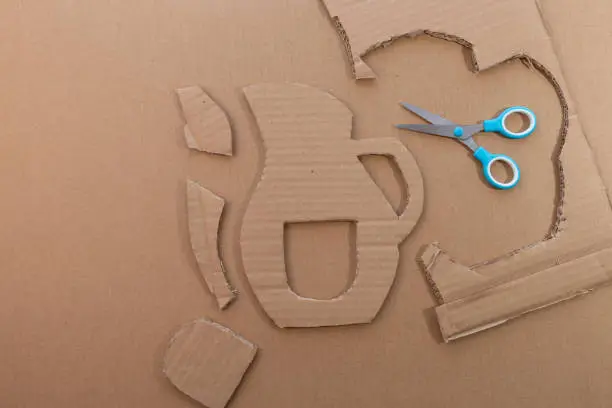
– Scissors or a craft knife
– Glue (strong liquid glue or hot glue gun)
– Split pins (paper fasteners) or toothpicks
– Rubber bands or straws (for the moving parts)
– Paint or markers (for decoration) - Draw and Cut the Shapes
Sketch out the shapes of the jaws. You need two long jaw blades shaped like wide tongs or pliers. Then cut out two short arm pieces that will act as the handles. Make sure the pieces are strong by using double layers of cardboard if needed. - Create the Pivot Point
The jaws of life open and close from a central joint. To mimic this, make a small hole near the base of each jaw blade. Use a split pin or toothpick through the holes to join them together so they can move apart and come back together like scissors. - Attach the Handles
Glue or pin the handle pieces to the back of each jaw blade. These handles should also move so they can be squeezed together to close the jaws. Reinforce the joints with extra cardboard if they feel weak. - Add Movement Mechanism
To help the jaws move more smoothly, attach rubber bands or small strips of straws at the connection point. These simulate the hydraulic pressure of the real jaws of life. When you pull the handles together, the jaw ends should move apart, and when you release, they should return. - Decorate and Label
Once the structure is working, paint or colour the jaws. You can add labels like “Hydraulic Cylinder,” “Blades,” or “Pivot” to make it more educational and realistic. Let everything dry before testing it.
Also Read: How To Make Homemade Bread Light And Fluffy