

How To Record On Microsoft Teams

Microsoft Teams offers a built-in recording feature that allows users to capture meetings, presentations, and discussions for later reference. Whether you want to review a session, share it with colleagues, or keep it for documentation, knowing how to record in Teams ensures that important information is not lost. Here is how to record on Teams.
Starting a Recording in Microsoft Teams
To record a meeting in Microsoft Teams, you need to be the meeting organizer or have the necessary permissions. Before starting, ensure that all participants are aware of the recording, as Teams notifies attendees once a recording begins.
- Join or start a meeting – Open Microsoft Teams and either create a new meeting or join an existing one.
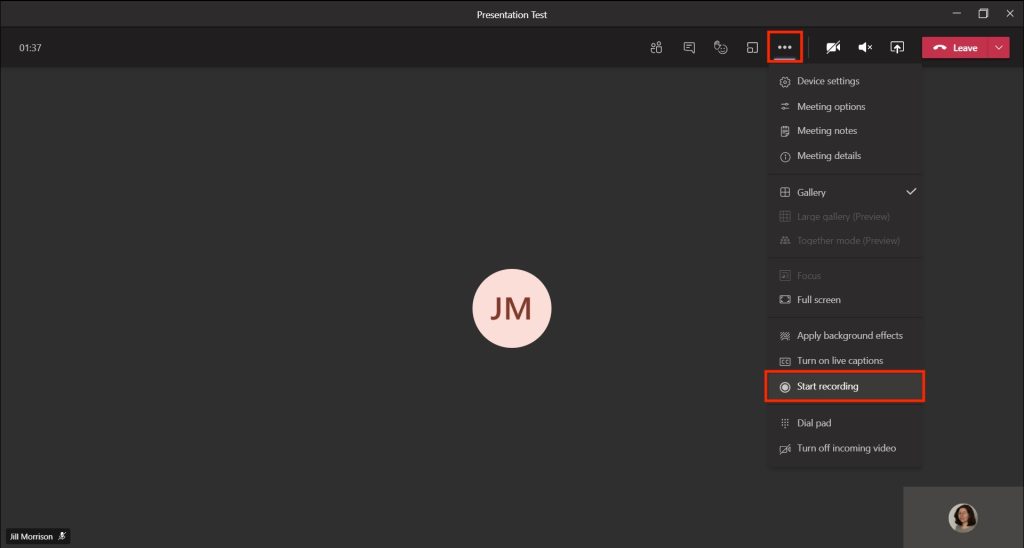
- Access the recording option – Click on the More actions (···) menu in the meeting toolbar.
- Start recording – Select Start recording and transcription from the menu. A notification will appear, informing participants that the meeting is being recorded.
Where Teams Recordings Are Saved
Microsoft Teams saves meeting recordings in different locations depending on the type of meeting:
- For channel meetings, the recording is stored in SharePoint under the respective team’s files.
- For regular meetings, the recording is saved in OneDrive under the account of the person who started the recording.
Accessing and Sharing the Recording
Once the meeting ends, the recording is processed and available in OneDrive or SharePoint. To access it:
- Go to the Chat section of Microsoft Teams where the meeting took place.
- Click on the meeting recording link to open it.
- Use the Share button to send the recording link to others.
You can also download the recording or adjust sharing permissions directly from OneDrive or SharePoint.
Stopping a Recording
To stop the recording manually before the meeting ends:
- Click the More actions (···) menu again.
- Select Stop recording.
- The recording will stop, and processing will begin automatically.
Also Read: How To Pronounce “Veuve Clicquot”