

How to Reinstall Windows 7 from USB

Reinstalling your operating system can feel intimidating, especially if you have never done it before. However, learning how to reinstall Windows 7 from USB is one of the most practical skills you can have when your computer becomes slow, corrupted, or infected with malware. Using a USB drive is faster and more convenient than traditional DVDs, and it allows you to carry your installation files anywhere. This guide walks you through the entire process in a simple and clear way so you can confidently reinstall Windows 7 without unnecessary stress.
-
Prepare Your USB Drive
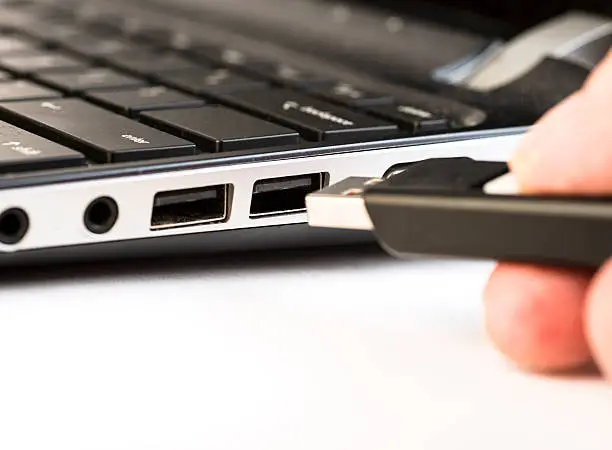
Before you begin the installation process, you need a properly configured USB drive. Make sure your USB has at least 4GB of storage space and is completely empty, as the process will erase all existing data.
To prepare the USB, you need a Windows 7 ISO file and a tool like the Windows USB/DVD Download Tool. Install the tool, open it, and select your ISO file. Then choose the USB option and allow the program to copy the files and make the drive bootable.
- Use a reliable USB drive to avoid installation errors
- Ensure the ISO file matches your system version (32-bit or 64-bit)
- Back up important files before formatting the USB
-
Configure BIOS Settings
Once your bootable USB is ready, you need to tell your computer to start from the USB instead of the hard drive. This is done through the BIOS or boot menu.
Restart your computer and press the appropriate key (commonly F2, F12, ESC, or DEL) to enter BIOS settings. Locate the boot order section and set the USB drive as the first boot device. Save your changes and exit.
- Insert the USB before restarting
- Follow on-screen instructions carefully
- Save changes before exiting BIOS
-
Start the Windows 7 Installation
After restarting, your computer should boot from the USB drive. You will see the Windows 7 installation screen. Select your language, time format, and keyboard input, then click “Install Now.”
Follow the prompts and accept the license terms. When asked for the installation type, choose “Custom (advanced)” to perform a fresh installation.
- Select the correct language settings
- Choose “Custom” instead of “Upgrade”
- Be patient as files begin loading
-
Format and Install Windows
At this stage, you will choose where to install Windows 7. Select your primary partition, usually labeled as Drive 0. If you want a clean install, format the partition before proceeding.
Once you click “Next,” the installation process will begin automatically. Your computer may restart several times during this phase, which is completely normal.
- Double-check the correct partition before formatting
- Ensure power supply is stable during installation
- Avoid interrupting the process
-
Complete Setup and Install Drivers
After installation, you will be prompted to create a username, set a password, and configure basic settings. Once done, your Windows 7 system will load for the first time.
The final step is installing necessary drivers and updates to ensure your system runs smoothly. You can use manufacturer websites or driver installation tools for this purpose.
- Install graphics, audio, and network drivers
- Run Windows Update for security patches
- Restore your backed-up files
Also Read: How to Reinstall WhatsApp