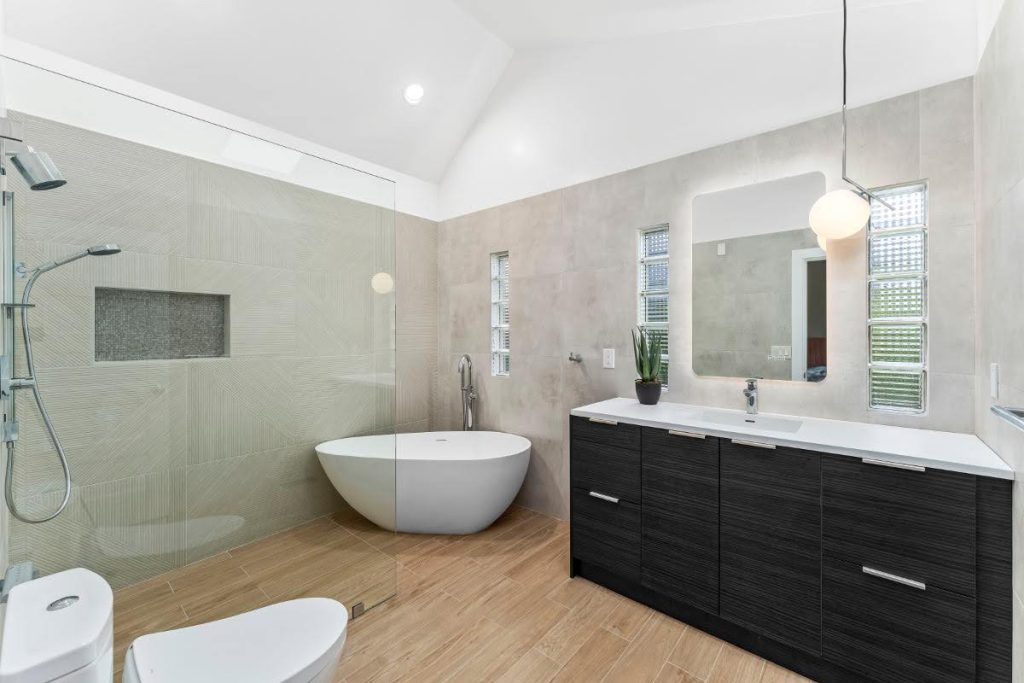
How to Repair Leaky Pipes and Fixtures During a Bathroom Remodel in Bellevue, Washington Homes

How to Repair Leaky Pipes and Fixtures
A bathroom remodel is an exciting opportunity to transform one of the most frequently used spaces in your home. However, it’s also a chance to address underlying issues, such as leaky pipes and fixtures, that can cause significant damage if left unchecked. For homeowners in Bellevue, Washington, where the climate and aging plumbing systems can contribute to these problems, tackling leaks during a remodel is a smart and proactive approach. In this blog post, we’ll guide you through the steps to identify, repair, and prevent leaky pipes and fixtures, ensuring your bathroom remodel in Bellevue, WA is both beautiful and functional for years to come.
Why Addressing Leaks is Crucial During a Bathroom Remodel
Leaky pipes and fixtures are more than just a nuisance—they can lead to water damage, mold growth, and increased utility bills. In Bellevue’s damp climate, moisture-related issues can escalate quickly, making it essential to address leaks during your remodel. By repairing these problems now, you’ll save money, protect your home’s structural integrity, and create a healthier living environment.
Step 1: Identify the Source of the Leak
Before you can fix a leak, you need to find its source. Here’s how to pinpoint the problem:
- Check Fixtures: Inspect faucets, showerheads, and toilet bases for visible signs of leaks, such as water pooling or dripping.
- Look for Water Stains: Discoloration on walls, ceilings, or floors can indicate hidden leaks in pipes.
- Monitor Water Pressure: Low water pressure or unusual noises in your plumbing system may signal a leak.
- Conduct a Water Meter Test: Turn off all water sources in your home and check the water meter. If it continues to move, you likely have a leak.
Step 2: Repair Common Leaky Fixtures
Once you’ve identified the source of the leak, it’s time to make repairs. Here’s how to address some of the most common issues:
1. Leaky Faucets
Leaky faucets are often caused by worn-out washers or O-rings. To fix this:
- Turn off the water supply to the faucet.
- Disassemble the faucet and inspect the washer and O-ring.
- Replace any damaged components and reassemble the faucet.
2. Dripping Showerheads
A dripping showerhead may result from a loose connection or a worn-out washer. To repair it:
- Tighten the connection between the showerhead and the pipe.
- If the leak persists, replace the washer inside the showerhead.
3. Running Toilets
A running toilet is often caused by a faulty flapper or fill valve. To fix this:
- Remove the tank lid and inspect the flapper and fill valve.
- Replace any worn-out parts and adjust the water level if necessary.
Step 3: Repair Leaky Pipes
Leaky pipes can be more challenging to repair, but addressing them during a bathroom remodel is the perfect opportunity to ensure your plumbing system is in top condition.
1. Fixing Small Leaks
For minor leaks, you can use a pipe clamp or epoxy putty as a temporary solution. However, for a long-term fix:
- Turn off the water supply to the affected area.
- Cut out the damaged section of the pipe using a pipe cutter.
- Replace the section with a new piece of pipe and secure it with couplings.
2. Replacing Old Pipes
If your home has outdated plumbing, consider replacing old pipes during your remodel. This is especially important in Bellevue, where older homes may have galvanized steel or polybutylene pipes that are prone to leaks. Opt for durable materials like copper or PEX, which are resistant to corrosion and cracking.
Step 4: Prevent Future Leaks
Once you’ve repaired the leaks, take steps to prevent them from recurring:
- Install Waterproofing: Use waterproof membranes and sealants around showers, tubs, and sinks to protect against moisture damage.
- Upgrade Fixtures: Invest in high-quality, leak-resistant fixtures and fittings.
- Insulate Pipes: Insulate exposed pipes to prevent freezing during Bellevue’s colder months.
- Schedule Regular Maintenance: Have a professional plumber inspect your plumbing system annually to catch potential issues early.
Step 5: Incorporate Repairs into Your Bathroom Remodel Design
A bathroom remodel is the perfect time to address leaks and upgrade your plumbing system. Here’s how to seamlessly incorporate these repairs into your design:
- Plan Ahead: Work with your contractor to identify and repair leaks before installing new fixtures or finishes.
- Choose Durable Materials: Opt for water-resistant materials like porcelain tiles, quartz countertops, and moisture-resistant paint.
- Upgrade Plumbing Layout: If you’re making significant changes to your bathroom layout, consider upgrading your plumbing to improve efficiency and functionality.
Why Hire a Professional for Your Bathroom Remodel in Bellevue, WA
While some minor leaks can be fixed with DIY solutions, a bathroom remodel often requires professional expertise. Hiring a licensed remodeling contractor ensures that repairs are done correctly and up to code. Additionally, professionals can help you design a bathroom that’s both stylish and leak-free, giving you peace of mind for years to come.
Conclusion
Repairing leaky pipes and fixtures during a bathroom remodel is a smart investment in your home’s longevity and value. By identifying and addressing leaks early, you can prevent costly damage and create a beautiful, functional space that stands the test of time. Whether you’re updating a compact guest bath or transforming a master suite, taking the time to repair leaks will ensure your remodel is a success. Ready to start your project? Reach out to local experts in Bellevue, Washington, to bring your vision to life!
