

How to Replace Ink Cartridge Canon Pixma

Replacing ink cartridges in your printer is an essential task to keep your documents and photos printing clearly. If you own a Canon Pixma printer, knowing how to replace ink cartridge Canon Pixma models correctly will help you avoid errors and maintain print quality. The process is simple and can be done in just a few minutes with the right steps.
-
Turn On the Printer
Start by switching on your Canon Pixma printer. The printer needs to be powered on so the cartridge holder can move into position.
Open the front cover or paper output tray, depending on your printer model.
- Ensure the printer is plugged in
- Wait for it to fully power up
- Do not force any parts open
-
Access the Ink Cartridge Holder
Once the printer is on and the cover is open, the cartridge holder will automatically move to the center for easy access.
Wait until it stops moving before touching anything.
- Allow the holder to stop completely
- Avoid touching internal components
- Ensure good lighting for visibility
-
Remove the Old Cartridge
Gently press down on the empty or used cartridge to release it, then pull it out of the holder.
Be careful not to spill any remaining ink.
- Handle cartridges carefully
- Remove the correct cartridge
- Dispose of it properly
-
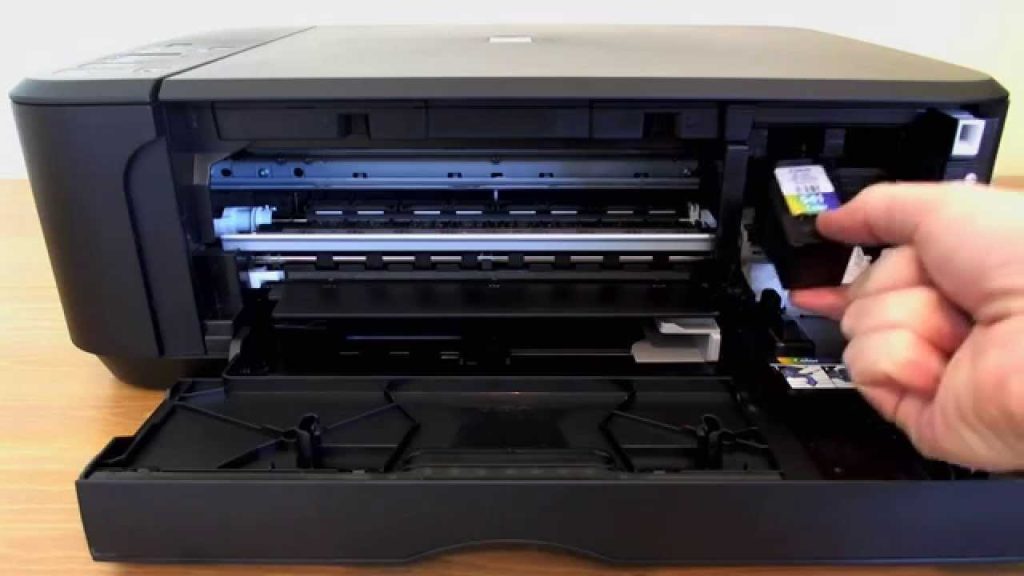
Insert the New Cartridge
Take the new ink cartridge out of its packaging and remove any protective tape.
Insert it into the correct slot and push it in until it clicks into place.
- Match the cartridge with the correct color slot
- Remove all protective seals
- Press firmly but gently
-
Close the Printer and Test
After installing the new cartridge, close the printer cover. The printer may take a moment to recognize the new cartridge.
Print a test page to ensure everything is working correctly.
- Wait for the printer to initialize
- Run a test print
- Check print quality
Also Read: How to Remove Paint on the Wall