

How to Scan a Document on a Canon Printer

Scanning documents using a Canon printer is a convenient way to create digital copies for storage, sharing, or printing later. Whether you are scanning for school, work, or personal use, the process is usually quick and straightforward. Learning how to scan a document on a Canon printer helps you save time and keep your files organized. With a few simple steps, you can scan documents بسÙÙÙØ© and store them on your computer or device.
-
Prepare Your Document and Printer
Start by turning on your Canon printer and ensuring it is properly connected to your computer or Wi-Fi network.
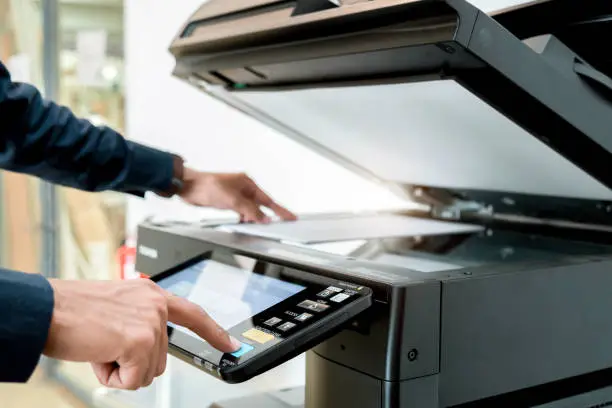
Place the document you want to scan on the scanner glass or in the document feeder.
- Turn on the printer
- Check connection to your device
- Place the document correctly
-
Open the Scanning Software
On your computer, open the Canon scanning software or use the default scanning tool available on your system.
Some printers also allow scanning directly from the printer screen.
- Launch Canon software or scanning app
- Choose the scan option
- Select your printer
-
Select Scan Settings
Before scanning, choose your preferred settings such as color, resolution, and file format.
Adjust these settings based on your needs.
- Choose color or black and white
- Set resolution quality
- Select file format (PDF or image)
-
Start the Scanning Process
Click the scan button on your computer or press the scan option on the printer.
Wait for the printer to process and create the digital file.
- Start the scan
- Wait for completion
- Avoid moving the document
-
Save and Review the Scanned File
Once scanning is complete, save the document to your preferred location on your device.
Open the file to check that the quality meets your expectations.
- Save the file in a folder
- Rename for easy access
- Review the scanned document
Also Read: How to Romance a Woman