

How to Scan Document Using Canon Printer

Scanning documents with a Canon printer is an easy and efficient way to create digital copies for storage, sharing, or printing later. Whether you need to scan schoolwork, office files, or personal documents, Canon printers offer user-friendly options to get the job done. Learning how to scan document using Canon printer helps you stay organized and manage your files more effectively. With just a few steps, you can complete the process quickly and accurately.
-
Prepare the Printer and Document
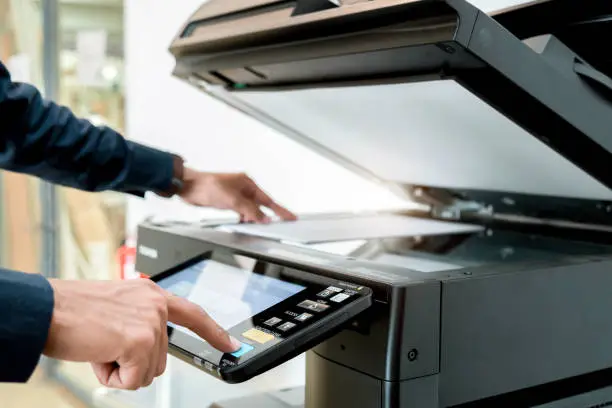
Start by turning on your Canon printer and ensuring it is properly connected to your computer or Wi-Fi network.
Place your document face down on the scanner glass or load it into the automatic document feeder if available.
- Turn on the printer
- Confirm connection to your device
- Position the document correctly
-
Open the Scanning Tool
On your computer, open the Canon scanning software such as IJ Scan Utility or use your system’s built-in scanning application.
Select your Canon printer from the list of available devices.
- Launch the scanning software
- Choose your printer
- Select the scan function
-
Adjust Scan Settings
Before scanning, customize the settings according to your needs. You can choose the color mode, resolution, and file format.
Proper settings ensure good quality results.
- Select color or black and white
- Set resolution level
- Choose file type such as PDF or JPEG
-
Start Scanning the Document
Click the scan button on your computer or press the scan option on the printer control panel.
Wait for the process to complete without moving the document.
- Start the scan process
- Keep the document still
- Wait for the scan to finish
-
Save and Check the File
After scanning, save the document to your preferred location on your computer or device.
Open the file to confirm that everything is clear and properly scanned.
- Save in a known folder
- Rename the file if needed
- Review the final scan
Also Read: How to Scan a Document on a Canon Printer