

How to Add an SSD to a Laptop

Upgrading your laptop with a Solid State Drive (SSD) is one of the best ways to improve performance. An SSD can significantly speed up boot times, application loading, and overall system responsiveness. Learning how to add an SSD to a laptop can help extend the life of your device and enhance your computing experience.
-
Check SSD Compatibility
Before purchasing an SSD, determine which type is compatible with your laptop.
Most laptops support either a 2.5-inch SATA SSD or an M.2 SSD.
- Check your laptop specifications
- Identify the supported SSD type
- Confirm storage and size requirements
-
Back Up Your Data
Before making any hardware changes, back up important files and documents.
This helps protect your data in case of unexpected issues.
- Save files to an external drive
- Use cloud storage if available
- Verify the backup is complete
-
Power Off and Open the Laptop
Shut down the laptop completely and disconnect any power source.
Carefully remove the bottom cover according to the manufacturer’s instructions.
- Turn off the laptop
- Unplug the charger
- Remove the back panel carefully
-
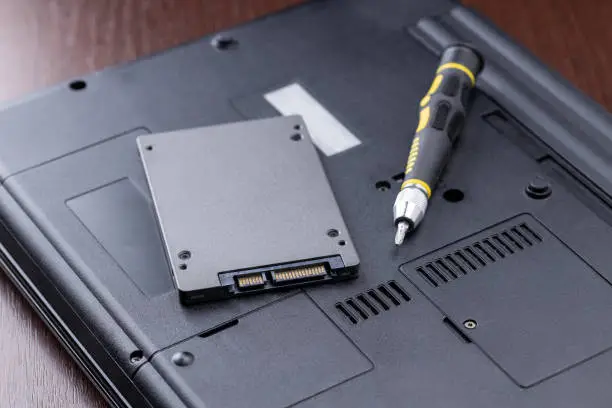
Install the SSD
Locate the SSD slot or drive bay inside the laptop.
Insert the SSD securely and fasten it if screws are required.
- Locate the correct slot
- Insert the SSD gently
- Secure it in place
-
Reassemble and Start the Laptop
Replace the laptop cover and reconnect the power.
Turn on the device to ensure the SSD is detected.
- Reattach the cover
- Power on the laptop
- Check that the SSD is recognized
-
Initialize and Set Up the SSD
If the SSD is being used as additional storage, initialize and format it through your operating system.
If it will be the main drive, you may need to install or clone your operating system.
- Open disk management tools
- Initialize and format the drive if needed
- Install or transfer the operating system
Also Read: How to Add Speaker Notes in PowerPoint