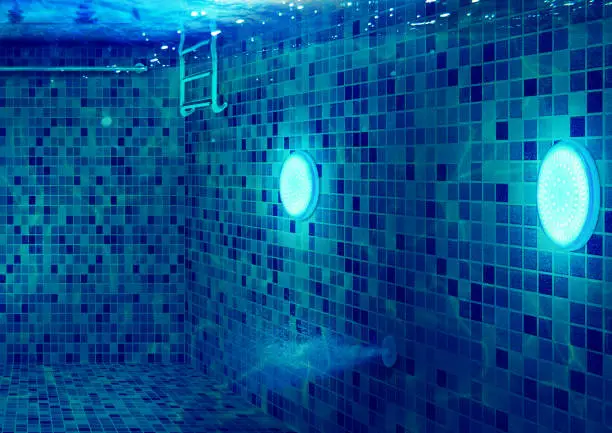
Changing a pool light may seem like a task best left to professionals, but with the right approach, it’s something you can safely handle yourself. Whether your light has burnt out or you’re upgrading to an energy-efficient LED, replacing a pool light doesn’t usually require draining the pool. It just takes some care, patience, and the right tools. Here is how to change a pool light.
- Turn Off the Power
Safety is the first priority. Head to your circuit breaker and switch off the power to the pool’s lighting system. To be extra sure, use a voltage tester to confirm that there’s no electricity flowing to the light. Never attempt to change a pool light with the power on—it can be extremely dangerous.
- Remove the Light Fixture
Most pool lights are secured in a niche on the wall with a single screw, usually at the top. Use a screwdriver to remove the screw, and carefully pull the entire fixture out of the water. The fixture should have enough extra cable to allow you to place it on the pool deck without disconnecting the wiring.
- Open the Light Fixture
Once the light fixture is out of the water, remove the screws or clamps holding the lens in place. Take note of how the parts are assembled to make reassembly easier later. Be cautious not to lose the rubber gasket, as it’s essential for keeping the fixture watertight. If the gasket is worn or damaged, replace it.
- Replace the Bulb
Carefully remove the old bulb and replace it with a new one that matches the required specifications (usually found on the old bulb or in your pool manual). Make sure the new bulb is clean and dry. Avoid touching the glass part of the bulb with your fingers—use a clean cloth or gloves to prevent oils from causing hot spots.
- Test the Light
Before sealing the fixture back up, briefly turn the power back on to test the new bulb. If it lights up, turn the power off again immediately. If it doesn’t work, double-check the bulb and connections. This step saves you from having to reopen the fixture if there’s an issue.
- Reseal and Reinstall
Once you’re sure the light works, carefully reseal the fixture. Make sure the gasket is properly seated to prevent leaks. Tighten all screws evenly to create a good seal. Lower the fixture back into the water and coil the extra cord back into the niche. Secure the light back into place with the screw you removed earlier.
- Restore Power
Finally, switch the power back on at the breaker. Check the light from a distance to ensure it’s working properly and that no water is leaking into the fixture. If everything looks good, your job is done.
Also Read: How To Become An Organ Donor In South Africa
Email your news TIPS to Editor@Kahawatungu.com — this is our only official communication channel


