

How to Change a Washer on a Mixer Tap

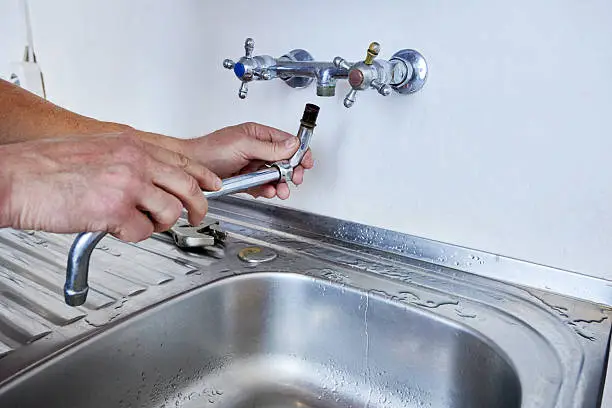
Knowing how to change a washer on a mixer tap can help you fix leaks, prevent water wastage, and extend the life of your tap without calling a plumber. A worn or damaged washer is one of the most common causes of dripping taps. By replacing the faulty washer and reassembling the tap correctly, you can restore smooth operation and eliminate annoying leaks with just a few basic tools.
-
Turn Off the Water Supply
Before starting any repair, switch off the water supply to the mixer tap.
Open the tap afterwards to release any remaining water and pressure from the pipes before you begin dismantling it.
- Turn off the water supply
- Open the tap to drain remaining water
- Place a cloth in the sink to catch small parts
-
Remove the Tap Handle
Use a screwdriver or Allen key to remove the screw securing the tap handle.
Carefully lift off the handle to expose the internal components of the mixer tap.
- Remove the decorative cap if fitted
- Unscrew the handle
- Lift off the handle carefully
-
Remove the Tap Cartridge or Valve
Using an adjustable spanner, carefully loosen and remove the cartridge or valve assembly.
Inspect the washer located at the bottom of the valve or inside the assembly to identify signs of wear or damage.
- Loosen the valve assembly
- Remove it carefully
- Locate the damaged washer
-
Replace the Old Washer
Remove the worn washer and fit a new washer of the same size and type.
Ensure it sits properly in its position before reassembling the tap.
- Remove the old washer
- Fit the replacement washer
- Check that it is seated correctly
-
Reassemble and Test the Tap
Reinstall the valve, tighten it securely, and replace the tap handle.
Turn the water supply back on and test the mixer tap to ensure the leak has stopped and that the tap operates normally.
- Reassemble the tap
- Turn the water supply back on
- Check for leaks and smooth operation
Also Read: How to Cancel an IFA Debit Order