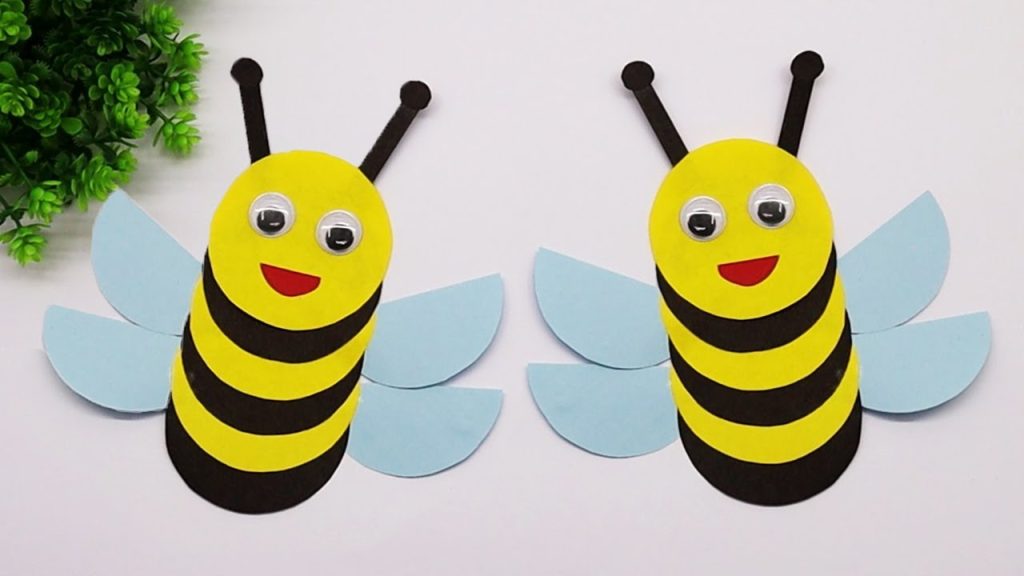
Creating a bee can be a fun and creative activity, whether for arts and crafts, school projects, decorations, or even costumes. You can make a bee model using materials such as paper, clay, fabric, or even 3D digital designs. The approach you take will depend on the purpose of the bee, whether it’s for educational models, DIY home décor, or fun craft projects with kids. Here is how to make a bee.
- Choosing the Type of Bee Model
Before starting, decide what kind of bee you want to make. Some options include:
- Paper Bee – A simple craft made from colored paper or origami
- Clay Bee – A small 3D model using air-dry or polymer clay
- Fabric Bee – A plush toy or felt decoration
- Painted Bee Rock – A rock painted to look like a bee
- Digital Bee – A bee illustration or 3D model for animation
Each type has its own set of materials and crafting methods.
- Making a Paper Bee
A paper bee is one of the easiest and most accessible ways to create a bee.
- Gather materials – Use colored paper (yellow and black), glue, scissors, and a marker
- Cut the body – Draw and cut an oval shape from yellow paper
- Add stripes – Cut thin strips of black paper and glue them onto the body
- Make the wings – Cut out two oval shapes from white or transparent paper
- Attach eyes and antennae – Draw or glue on googly eyes and use black paper for antennae
- Assemble – Stick all the parts together using glue
This is perfect for kids’ crafts, decorations, or greeting cards.
- Making a Clay Bee
For a more detailed and 3D model, use clay to sculpt a bee.
- Choose the clay – Use polymer clay (bakeable) or air-dry clay
- Form the body – Roll yellow clay into an oval shape
- Add stripes – Roll out black clay into thin strips and wrap them around the body
- Make the wings – Flatten white or translucent clay and cut out wing shapes
- Attach eyes and antennae – Use small black clay dots for eyes and thin black clay strands for antennae
- Bake or let it dry – If using polymer clay, bake according to the package instructions. For air-dry clay, let it sit for 24 hours
This method is great for making keychains, small figurines, or learning projects.
- Making a Fabric or Felt Bee
A fabric bee is soft, durable, and ideal for plush toys or decorations.
- Choose the fabric – Use yellow and black felt or soft cotton fabric
- Cut out shapes – Make two oval pieces for the body and small strips for stripes
- Sew or glue – Attach the stripes, then sew the two body pieces together, leaving a small opening
- Stuff with cotton – Fill the bee with cotton or polyester stuffing
- Make the wings – Use white fabric or netting for the wings and attach them
- Add details – Sew on buttons or beads for eyes, and use black thread for the antennae
This makes a cute bee plush toy or hanging decoration.
- Making a Painted Bee Rock
If you love painting and outdoor crafts, you can turn a smooth rock into a bee.
- Find a smooth rock – Choose a small, oval-shaped rock
- Clean the rock – Wash and let it dry
- Paint the base – Use yellow acrylic paint as the base color
- Add black stripes – Paint black stripes across the rock
- Create the wings – Use white paint or glue on small white paper wings
- Finish with eyes – Use black and white paint or glue on googly eyes
This is perfect for garden decorations or children’s crafts.
- Making a Digital or 3D Model Bee
For those interested in graphic design, animation, or 3D modeling, a digital bee can be created using software.
- Use drawing software – Sketch a bee using Adobe Illustrator, Procreate, or Photoshop
- Try 3D modeling – Use Blender or Tinkercad to create a digital 3D bee
- Add details – Use textures, colors, and animations to bring the bee to life
This method is great for digital art, animations, or educational projects.
Also Read: How To Install Downlights
Email your news TIPS to Editor@Kahawatungu.com — this is our only official communication channel


