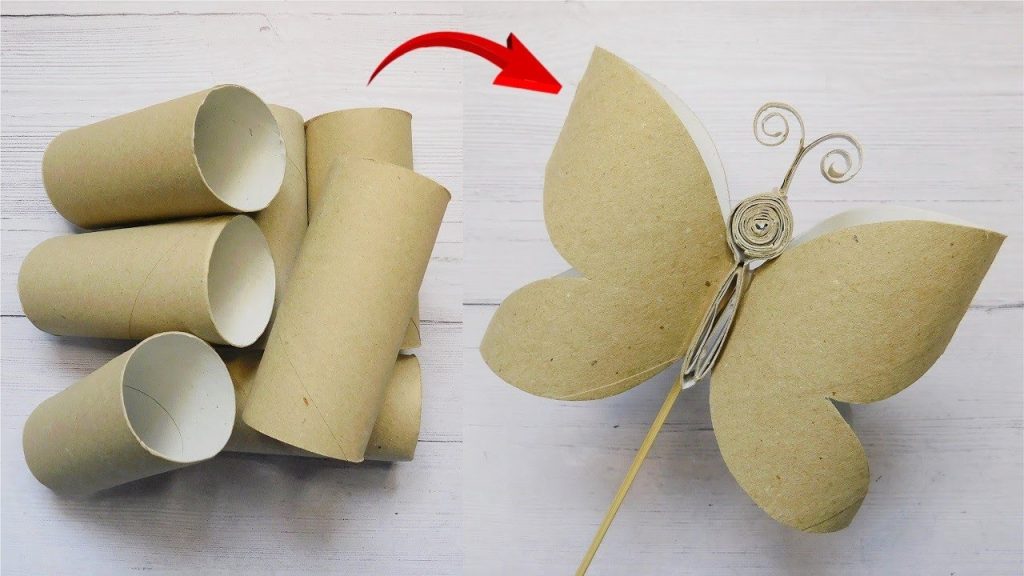
Crafting a butterfly out of a toilet paper roll is a fun and creative activity that both children and adults can enjoy. It’s an excellent way to recycle materials while making a beautiful decoration or toy. With just a few supplies, you can transform a simple cardboard tube into a colorful butterfly. Here is how to make a butterfly with a toilet paper roll.
- Gather the Materials
To make a toilet paper roll butterfly, you will need:
- An empty toilet paper roll – The base of the butterfly
- Colored construction paper or paint – To decorate the body and wings
- Scissors – For cutting paper and shaping the wings
- Glue or tape – To attach the different parts
- Markers, crayons, or stickers – To add details and designs
- Googly eyes or paper cutouts – To create expressive eyes
- Pipe cleaners or strips of paper – For the butterfly’s antennae
If you don’t have all these materials, you can improvise with whatever craft supplies are available.
- Prepare the Toilet Paper Roll
The toilet paper roll forms the butterfly’s body. You can decorate it in several ways:
- Paint it using bright colors and let it dry completely
- Cover it with colored paper and secure it with glue or tape
- Draw patterns, dots, or stripes using markers or crayons
- Add stickers, glitter, or other embellishments for extra detail
The body should be colorful and eye-catching since it will be the center of the butterfly.
- Create the Wings
The wings are one of the most important parts of the butterfly. Follow these steps to make them:
- Take a piece of construction paper or thin cardboard
- Fold it in half and draw a wing shape (like a heart or an oval) on one side
- Cut along the outline while keeping the paper folded to ensure symmetrical wings
- Unfold the cutout to reveal the butterfly’s wings
Decorate the wings by:
- Coloring them with crayons, markers, or paints
- Adding stickers or glitter for a fun effect
- Cutting smaller shapes from other colored paper and gluing them on for a layered look
You can mix and match colors to make the wings vibrant and artistic.
- Attach the Wings to the Body
To assemble the butterfly:
- Apply glue or tape to the center of the wings
- Press the toilet paper roll onto the glued area and hold it in place for a few seconds
- Adjust the wings to ensure they are evenly positioned and slightly angled outward
If using tape, ensure it is secure so the wings don’t detach over time.
- Add the Face and Antennae
A butterfly isn’t complete without a face and antennae. To create them:
- Attach googly eyes to the front of the roll, or draw eyes with a marker
- Draw a small smile or use a tiny piece of paper for a mouth
- Cut two small pieces of pipe cleaner or paper strips for antennae
- Glue or tape the antennae to the inside of the toilet paper roll, allowing them to stick out at the top
Bend the antennae slightly to give them a natural, playful look.
- Final Touches
After assembling the butterfly, take a moment to check the details:
- Make sure the wings are secure and symmetrical
- Adjust the antennae for a balanced appearance
- Add extra decorations like tiny paper flowers, sequins, or a little sparkle
Once everything is set, let the glue dry completely before handling the butterfly.
- Display or Use Your Butterfly
Now that your toilet paper roll butterfly is complete, you can:
- Hang it with string as a decoration in a room or classroom
- Attach it to a stick to use as a puppet
- Make multiple butterflies in different colors for a beautiful display
- Use it for storytelling or pretend play
If you want to create a whole butterfly family, experiment with different sizes and wing shapes.
Also Read: How To Install Downlights
Email your news TIPS to Editor@Kahawatungu.com — this is our only official communication channel


