

How To Make A Circuit With A Switch

How To Make A Circuit With A Switch
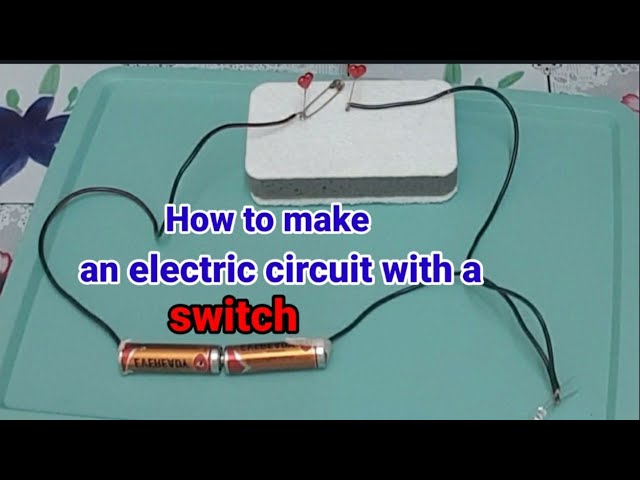
Making a simple electric circuit with a switch is a fun and educational way to understand how electricity flows and how switches control the flow. This kind of project is ideal for school experiments or home science activities. With just a few basic items, you can build a working circuit in minutes. Here is how to make a circuit with a switch.
- Gather Your Materials
To make a basic circuit with a switch, you will need:
- A battery (1.5V AA or 9V depending on your bulb)
- Battery holder (optional)
- Small light bulb or LED
- Electrical wires (with clips or stripped ends)
- A simple switch (you can use a ready-made one or make your own with a paperclip and metal fasteners)
- Electrical tape (optional, for secure connections)
- Understand the Circuit Flow
An electric circuit needs a complete path for electricity to flow from the power source (battery) through the load (bulb) and back to the battery. The switch is used to either open (break) or close (complete) this path. - Connect the Battery to the Bulb
Attach one end of a wire to the positive terminal of the battery and connect the other end to the base of the bulb. If you are using an LED, connect the longer leg (positive side) to the wire from the battery’s positive terminal. - Connect the Bulb to the Switch
Attach another wire from the other end of the bulb to one side of the switch. This creates the middle part of the circuit. - Complete the Circuit
Now, connect a third wire from the other side of the switch to the negative terminal of the battery. Once the switch is closed (turned on), electricity flows from the battery to the bulb and back, lighting it up. - Test the Circuit
Flip the switch on and off. If everything is connected correctly, the bulb should light up when the switch is on and go off when the switch is off. This shows the switch’s role in controlling the flow of electricity. - Secure the Connections
Use electrical tape or clips to hold the wires in place if they’re loose. Ensure there are no exposed metal parts that could touch and cause a short circuit.
Also Read: How To Lock A Cell In Excel Formula