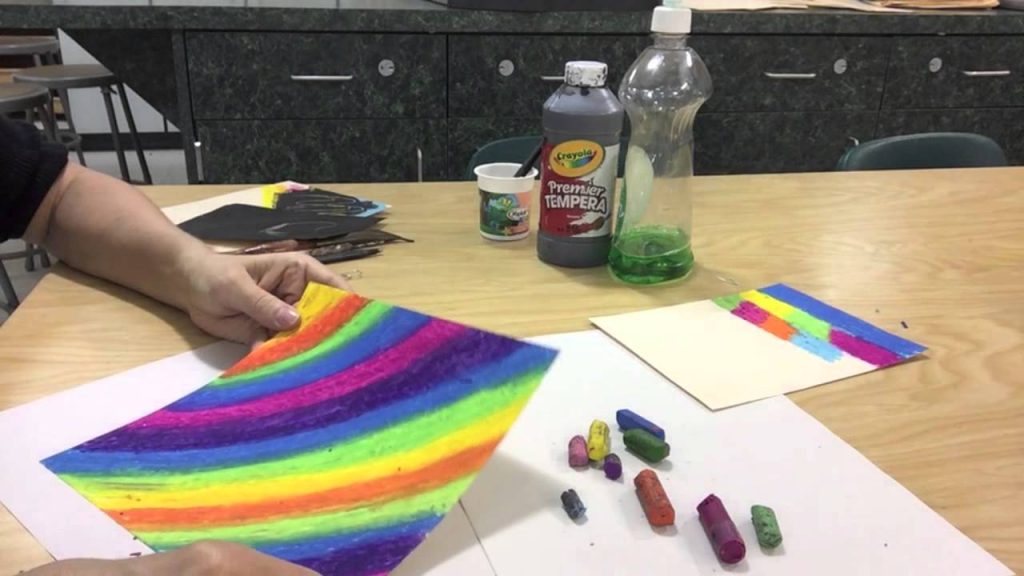
A scraperboard, also known as scratchboard, is a unique art medium that involves scratching away a surface layer to reveal a contrasting color underneath. It allows for detailed illustrations with fine lines and textures, making it a popular choice for artists who want to create striking black-and-white designs. While you can buy ready-made scraperboards, making your own is simple and requires only a few materials. Here is how to make a scraperboard.
Materials Needed
- A thick piece of cardstock, illustration board, or poster board
- White or colored oil pastel, crayon, or chalk
- Black acrylic paint or India ink
- A paintbrush or sponge
- A scratching tool (toothpick, craft knife, needle, or a metal skewer)
Instructions
- Prepare the Base
Start with a sturdy piece of cardstock or illustration board. The thickness will help prevent the board from tearing when you scratch away the surface layer. - Apply the Wax Layer
Using a white or colored oil pastel or crayon, cover the entire surface of the board. Press firmly to create a smooth, even layer. If you want a colorful effect, use multiple pastel colors. - Paint Over the Wax
Apply a layer of black acrylic paint or India ink over the entire surface. If using acrylic paint, mix it with a small amount of dish soap to help it adhere to the wax layer. Let the paint dry completely before proceeding. - Start Scratching
Use a toothpick, craft knife, or any sharp tool to carefully scratch away the black surface, revealing the lighter or colorful layer beneath. Experiment with different tools to create various line thicknesses and textures. - Add Details
Continue scratching to create your desired design. Use controlled strokes for fine details or broader strokes for bold highlights. If you make a mistake, you can touch up areas by repainting them with black paint.
Tips for a Better Scraperboard
- Use a fine-tip scratching tool for detailed work and a wider tool for larger areas.
- If you want a more vibrant design, blend different pastel colors before applying the black paint.
- Practice on a small piece of prepared board before starting your final artwork.
Also Read: How To Install Downlights
Email your news TIPS to Editor@Kahawatungu.com — this is our only official communication channel


