

How To Partition A Hard Drive

Partitioning a hard drive allows you to divide it into separate sections, making it easier to organize data, install multiple operating systems, or improve performance. Whether you’re using Windows or macOS, partitioning is a straightforward process when done correctly. Here is how to partition a hard drive.
Understanding Partitions
A hard drive can have multiple partitions, each acting as an independent storage unit. You can create new partitions on an existing drive without losing data, but it’s always recommended to back up important files before making changes.
Partitioning a Hard Drive in Windows
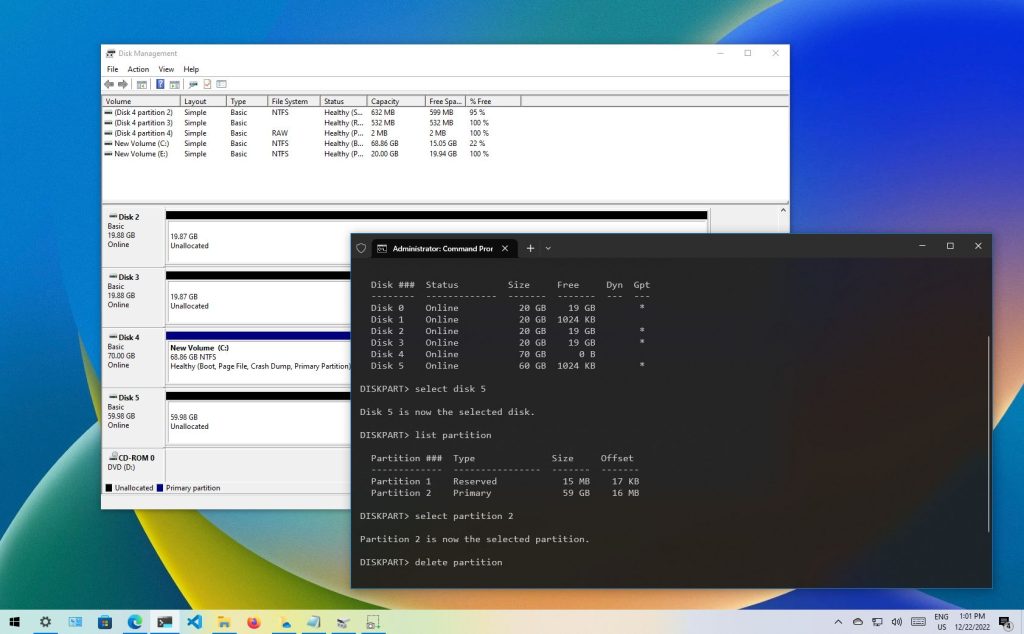
Step 1: Open Disk Management
- Press Windows + R, type diskmgmt.msc, and hit Enter.
- The Disk Management window will open, displaying all connected storage drives.
Step 2: Shrink an Existing Volume
- Right-click the drive you want to partition and select Shrink Volume.
- Enter the amount of space to shrink (in MB).
- Click Shrink, and you’ll see unallocated space appear on the disk.
Step 3: Create a New Partition
- Right-click the unallocated space and select New Simple Volume.
- Follow the wizard, assigning a drive letter and file system (NTFS is recommended for Windows).
- Click Finish, and the new partition will be ready for use.
Partitioning a Hard Drive on macOS
Step 1: Open Disk Utility
- Click on the Apple menu and go to Utilities > Disk Utility.
- Select the hard drive you want to partition from the sidebar.
Step 2: Create a New Partition
- Click on the Partition button.
- Click the + (Add) button to create a new partition.
- Choose the partition size and format (APFS or Mac OS Extended).
- Click Apply, then Partition to confirm the changes.
Also Read: How To Make Money On PayPal