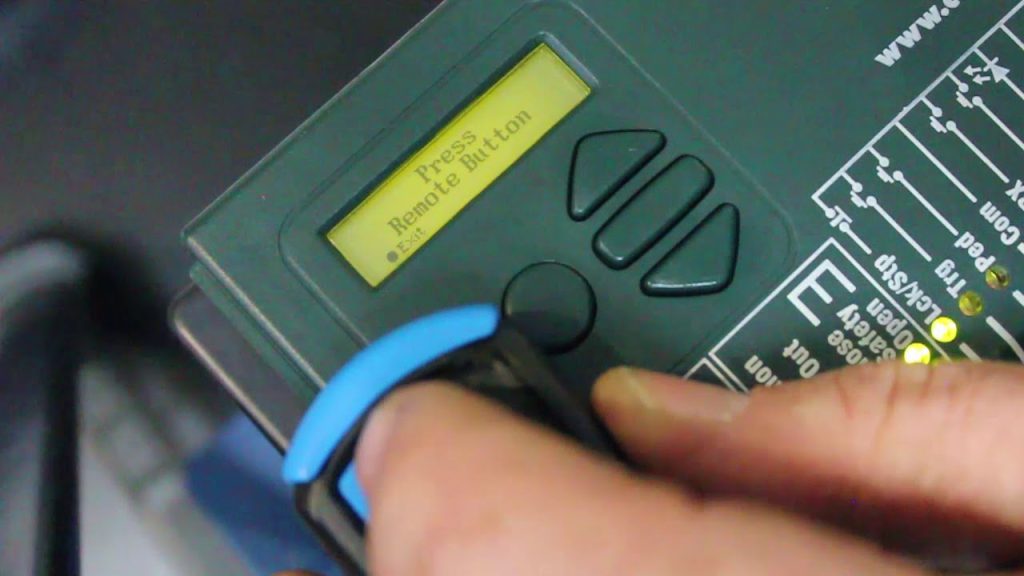
Programming a Centurion gate remote using an existing remote is a straightforward process that allows you to duplicate the signal for convenience. This method works by transferring the frequency and code from a working remote to a new one. While the exact steps may vary depending on the model, the general process remains the same. Here is how to program a centurion gate remote with another remote.
Requirements Before You Begin
- A fully functional Centurion gate remote that is already programmed to the gate motor
- A new or additional Centurion remote that needs to be programmed
- Ensure the gate motor has available memory slots for new remotes
Steps to Program a Centurion Gate Remote with Another Remote
- Check the Compatibility
Before proceeding, ensure that both remotes are the same model or at least compatible. Centurion remotes typically use rolling code technology, which means they must be programmed directly to the gate motor or using a master remote with cloning capabilities.
- Enter Programming Mode on the Working Remote
Some Centurion remotes have a feature that allows them to copy their signal to another remote. If your working remote has this feature, follow these steps:
- Hold down the button on the existing programmed remote that opens the gate
- If the remote supports signal cloning, it will enter programming mode (this might be indicated by a flashing light)
- Activate the Learning Mode on the New Remote
- On the new remote, press and hold the button you want to program
- Bring the two remotes close together (usually within a few centimeters)
- Wait for the LED indicator on the new remote to flash or stay solid, indicating it has received the signal
- Test the New Remote
Once programming is complete, press the button on the newly programmed remote to check if it successfully opens the gate. If the gate responds, the process was successful.
Alternative Method: Programming Directly on the Gate Motor
If the direct remote-to-remote programming does not work, you may need to program the new remote through the gate motor.
- Open the gate motor control box (usually requires a screwdriver)
- Locate the learn/program button inside the motor (refer to the manual for the exact location)
- Press the learn button once (do not hold it down)
- Within a few seconds, press the desired button on the new remote
- The motor should respond with a beep or flashing light, confirming successful programming
Final Testing and Troubleshooting
- If the remote does not work, try repeating the process
- Ensure the battery in the new remote is working properly
- If the gate motor has reached its memory limit, older remotes may need to be deleted before adding new ones
Also Read: How To Prevent Corrosion
Email your news TIPS to Editor@Kahawatungu.com — this is our only official communication channel


