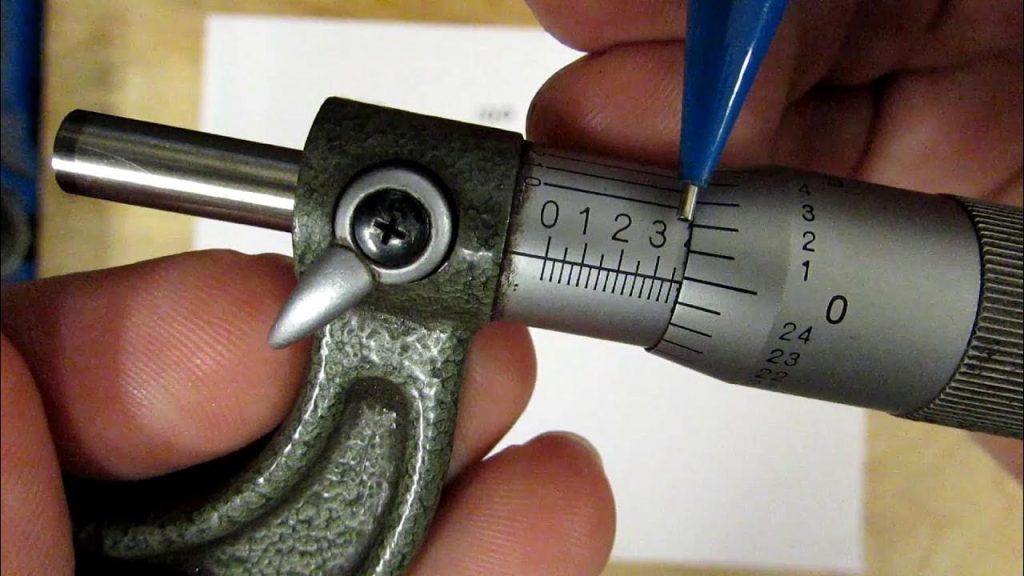
A micrometer is a precision measuring instrument used to determine small distances with high accuracy. It is commonly used in engineering, machining, and scientific applications to measure thickness, diameters, and other fine dimensions. Understanding how to read a micrometer correctly ensures precise measurements and prevents errors in critical tasks. Here is how to read a micrometer.
Understanding the Parts of a Micrometer
A typical micrometer consists of a frame, anvil, spindle, sleeve (or barrel), thimble, and ratchet stop. The anvil and spindle hold the object being measured, while the thimble is rotated to move the spindle closer or farther from the anvil. The sleeve and thimble have graduated scales that provide the measurement.
Reading the Sleeve Scale
The sleeve (or barrel) features a linear scale, usually marked in millimeters or inches. Each full division represents one millimeter (or 0.025 inches in an imperial micrometer). Every fifth division is usually numbered for easy reference.
Reading the Thimble Scale
The thimble has a rotating scale, which typically consists of 50 divisions. Each division represents 0.01 mm in a metric micrometer (or 0.001 inches in an imperial micrometer). As the thimble rotates, it moves along the sleeve scale, adding a fractional measurement to the reading.
Using the Vernier Scale (If Present)
Some micrometers have a vernier scale on the sleeve for even finer readings. This scale provides an extra level of precision, typically to 0.001 mm. If a vernier scale is present, the correct reading is obtained by aligning the closest vernier marking with the thimble scale.
Steps to Read a Micrometer
- Read the sleeve scale: Identify the last visible full number before the thimble edge. If using a metric micrometer, this gives the whole millimeters.
- Read the thimble scale: Note the marking that aligns with the sleeve scale. This provides additional decimal precision.
- Add both readings together: Combine the sleeve and thimble values to get the total measurement. If a vernier scale is present, check for further refinement.
Example Reading
If the sleeve shows 5 mm and the thimble aligns with 0.28 mm, the total measurement is 5.28 mm. If a vernier scale aligns at 0.002 mm, the final reading is 5.282 mm.
Also Read: How To Pronounce “Sovereignty”
Email your news TIPS to Editor@Kahawatungu.com — this is our only official communication channel


