How to Read a Micrometer Screw Gauge

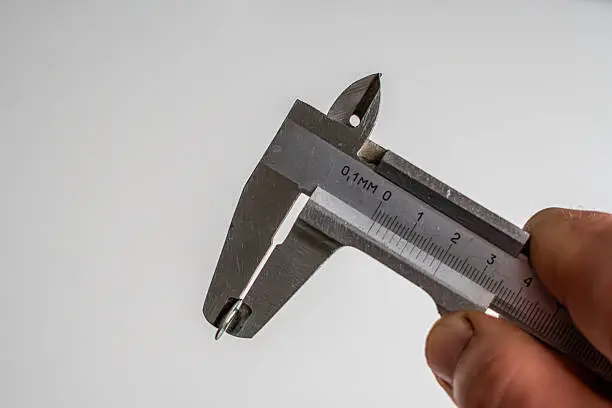
Learning how to read a micrometer screw gauge is important for students, technicians, mechanics, and anyone who needs to measure small objects accurately. A micrometer screw gauge is a precision measuring instrument used to determine the thickness or diameter of objects such as wires, thin metal sheets, and small machine components. It provides more precise measurements than an ordinary ruler. To read it correctly, you need to understand the main scale, the thimble scale, and how to combine their readings.
-
Understand the Parts of a Micrometer Screw Gauge
Before taking measurements, familiarise yourself with the main parts of the instrument.
- Frame: The C-shaped body that supports the instrument.
- Anvil: The fixed measuring surface.
- Spindle: The movable surface that presses against the object.
- Sleeve or main scale: The graduated scale that shows the main measurement.
- Thimble: The rotating part containing the circular scale.
- Ratchet stop: Helps apply consistent pressure when measuring.
Understanding these parts makes it easier to take accurate readings.
-
Check the Least Count
The least count is the smallest measurement the micrometer can reliably display.
For a typical metric micrometer, the screw pitch may be 0.5 mm and the thimble may have 50 divisions.
Least count = Screw pitch ÷ Number of thimble divisions
Therefore:
Least count = 0.5 mm ÷ 50 = 0.01 mm.
This means each thimble division represents 0.01 mm. However, check the specifications of your particular instrument because some micrometers have different least counts.
-
Read the Main Scale
The main scale is usually marked along the sleeve. On a typical metric micrometer, it shows millimetres and may also include half-millimetre markings.
To read it:
- Place the object between the anvil and spindle.
- Rotate the thimble until the object is held gently.
- Look at the last main-scale marking visible before the edge of the thimble.
- Record that value in millimetres.
For example, if the last visible main-scale mark is 6.5 mm, the main-scale reading is 6.5 mm.
-
Read the Thimble Scale
After recording the main-scale reading, examine the circular scale on the thimble.
- Identify the thimble division that lines up with the reference line on the sleeve.
- Record its division number.
- Multiply that number by the least count.
For example, if division 28 aligns with the reference line and the least count is 0.01 mm:
Thimble reading = 28 × 0.01 mm = 0.28 mm.
-
Calculate the Final Measurement
To obtain the final measurement, add the main-scale reading to the thimble reading.
The formula is:
Final reading = Main-scale reading + Thimble reading
For example:
- Main-scale reading: 6.5 mm
- Thimble reading: 0.28 mm
- Final measurement: 6.5 + 0.28 = 6.78 mm
Therefore, the object’s measured thickness or diameter is 6.78 mm, assuming the instrument has no zero error.
-
Check for Zero Error
Before measuring, close the micrometer gently using the ratchet stop. If the instrument reads something other than zero when the measuring faces touch, it may have a zero error.
Record the zero error and apply the appropriate correction to your measurement. The correction is subtracted from a positive zero error or added for a negative zero error.
If you are unsure how to correct the reading, consult the instrument’s instructions or your laboratory guide.
Also Read: How to Give Access to a Word Document on Teams