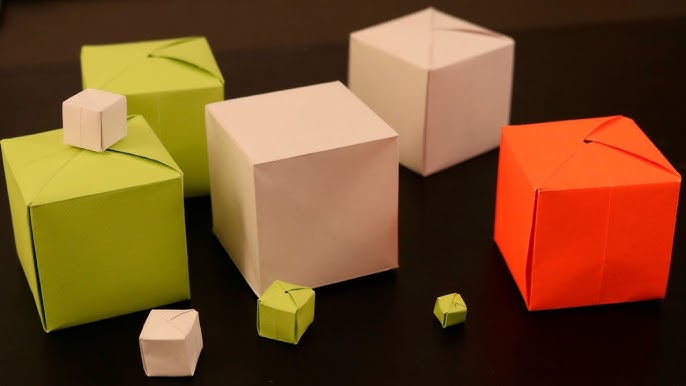
A cube is a three-dimensional geometric shape with six equal square faces. Whether you need one for a school project, crafting, or as a basic 3D model, making a cube can be simple and fun. You can create a cube using paper, cardboard, or even wood, depending on your purpose. Below is a guide on how to make a cube using paper or cardstock, as it is the easiest method.
Materials Needed
- A sheet of paper or cardstock
- A ruler
- A pencil
- Scissors
- Glue or tape
Instructions
- Draw the Cube Template
Using a ruler and pencil, draw six equal squares on your paper. The squares should be arranged in a cross shape, with four squares forming a straight vertical line and two squares attached to the sides of the second square from the top. This will form the cube’s net. - Add Tabs for Gluing
Draw small flaps along the edges of some squares. These flaps will help you glue or tape the cube together. Ensure the tabs are about 1 cm wide and positioned along the sides where the cube will be joined. - Cut Out the Cube Template
Carefully cut along the outer lines of the template, including the tabs. Avoid cutting inside the squares or across the tabs. - Fold Along the Lines
Using the ruler to guide you, fold along each edge of the squares. This will help shape the cube. Also, fold the glue tabs inward. - Assemble the Cube
Apply glue or tape to the tabs and carefully attach the edges of the squares together. Hold each side for a few seconds to ensure it sticks properly. - Let It Dry and Finish
If using glue, allow the cube to dry completely before handling it. Once dry, check that all sides are securely attached.
Also Read: How To Install Downlights
Email your news TIPS to Editor@Kahawatungu.com — this is our only official communication channel


