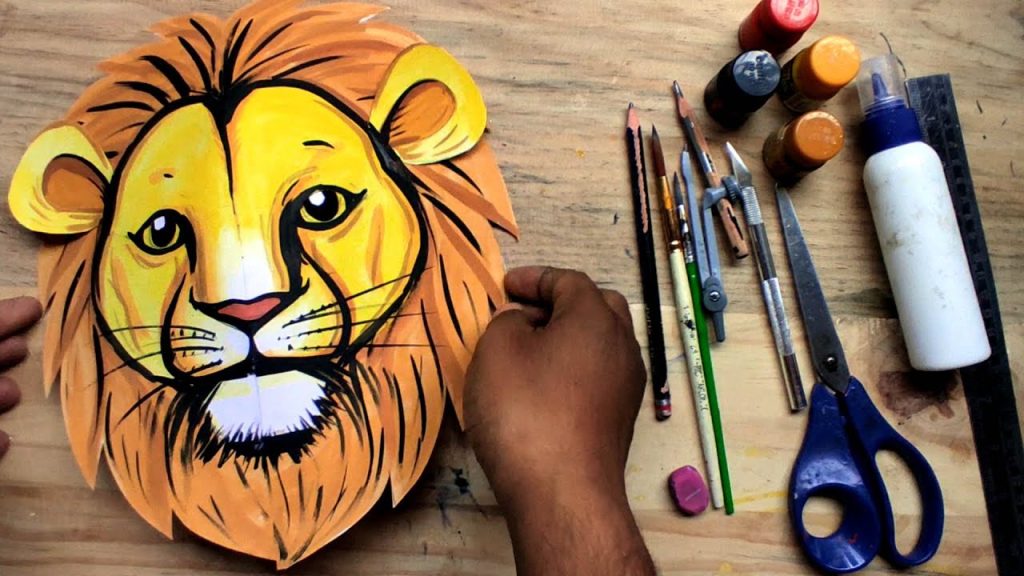
A lion mask is a fun and creative craft project, perfect for costumes, school activities, or themed parties. You can make one using simple materials like cardboard, paper plates, or felt. Whether it’s for a child’s play or a decorative piece, this guide will help you create a bold and expressive lion mask. Here is how to make lion mask.
Materials Needed
- A paper plate or a piece of sturdy cardboard
- Yellow and orange construction paper or paint
- Scissors
- Glue or a glue stick
- A black marker or crayon
- Elastic string or a wooden stick (for holding the mask)
Steps to Make a Lion Mask
- Prepare the Base
- If using a paper plate, cut out two holes for the eyes.
- If using cardboard, draw the shape of a lion’s face and cut it out. Then, cut out the eye holes.
- Color the Mask
- Paint or color the mask yellow to resemble a lion’s fur.
- Let the paint dry before moving on to the next step.
- Create the Mane
- Cut strips of orange and yellow construction paper, about 5-7 cm long.
- Curl the edges slightly by rolling them around a pencil for a more realistic mane effect.
- Glue the strips around the outer edges of the mask, alternating colors for a full mane.
- Add Facial Features
- Use a black marker to draw a nose and whiskers.
- You can also cut out and glue extra paper shapes to create a more 3D effect for the nose and ears.
- Attach the Holding Mechanism
- If you want to wear the mask, punch holes on the sides and tie an elastic string.
- Alternatively, glue a wooden stick to the bottom so you can hold it up like a masquerade mask.
Also Read: How To Make Crumbed Chicken
Email your news TIPS to Editor@Kahawatungu.com — this is our only official communication channel


