


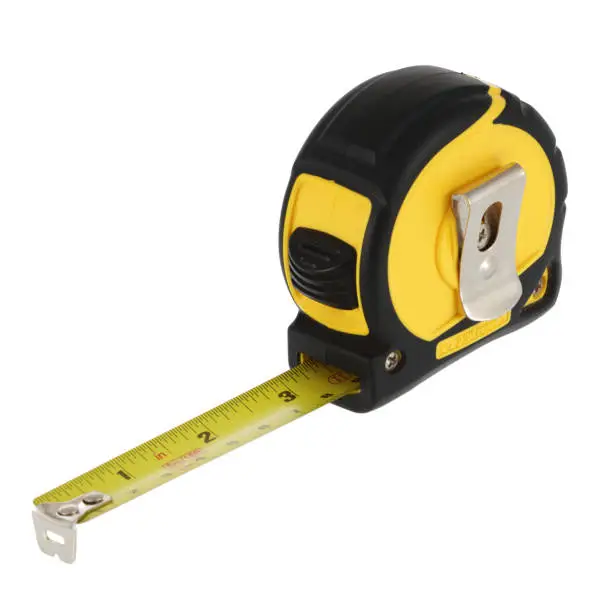
Learning how to read a tape measure is an essential skill for anyone involved in construction, carpentry, tailoring, home improvement, or DIY projects. A tape measure helps you determine the length, width, and height of different objects and surfaces. Although the markings may look confusing at first, understanding the numbers, lines, and measurement units makes it easier to obtain accurate readings. With regular practice, you can measure objects confidently and avoid costly mistakes.
-
Understand the Main Parts of a Tape Measure
Before taking measurements, familiarise yourself with the main parts of a tape measure.
- Tape blade: The long metal or flexible strip containing measurement markings.
- Hook: The metal end that holds onto an edge when measuring.
- Lock button: Keeps the tape in position.
- Case: The outer covering that stores and protects the tape.
- Measurement markings: Lines and numbers showing different lengths.
Some tape measures display measurements in centimetres and millimetres, while others use inches and feet.
-
Understand the Numbers on the Tape Measure
The large numbers usually represent the main measurement units.
On a metric tape measure:
- Large numbers indicate centimetres.
- Each centimetre contains 10 smaller divisions.
- Each small division represents one millimetre.
- 100 centimetres make one metre.
For example, if the tape reaches 25, the measurement is 25 centimetres. If it reaches 25 centimetres and three small markings beyond that point, the measurement is 25.3 centimetres.
-
Learn How to Read Millimetres and Centimetres
Metric tape measures use centimetres and millimetres.
Remember:
- 1 centimetre = 10 millimetres.
- 10 centimetres = 100 millimetres.
- 100 centimetres = 1 metre.
For example, a measurement of 15 centimetres and 6 millimetres is written as 15.6 cm or 156 mm.
Always count the small lines carefully to avoid recording the wrong measurement.
-
Understand Inches and Feet
Some tape measures use the imperial measurement system.
The main markings represent inches, while longer markings may indicate half inches, quarter inches, and eighth inches.
Remember:
- 12 inches = 1 foot.
- 36 inches = 3 feet.
- 1 inch = 2.54 centimetres.
For example, if an object measures 24 inches, its length is equivalent to 2 feet.
-
Follow the Correct Method When Measuring
To obtain an accurate measurement, follow these instructions:
- Place the metal hook against the starting edge of the object.
- Pull the tape straight along the surface.
- Keep the tape tight without bending or twisting it.
- Check the number where the opposite edge meets the tape.
- Read the smaller markings if you need a more precise measurement.
- Record the result using the correct unit.
For longer distances, ask someone to help hold the tape in position.
-
Practise Reading Different Measurements
The best way to become comfortable with a tape measure is to practise using everyday objects.
Try measuring a table, door, window, chair, or wall. Read the measurement in centimetres and millimetres, then repeat using inches if your tape measure supports both systems.
Double-check your readings before cutting materials or making adjustments.
Also Read: How to Read a Guitar Tab

Email your news TIPS to Editor@Kahawatungu.com — this is our only official communication channel
